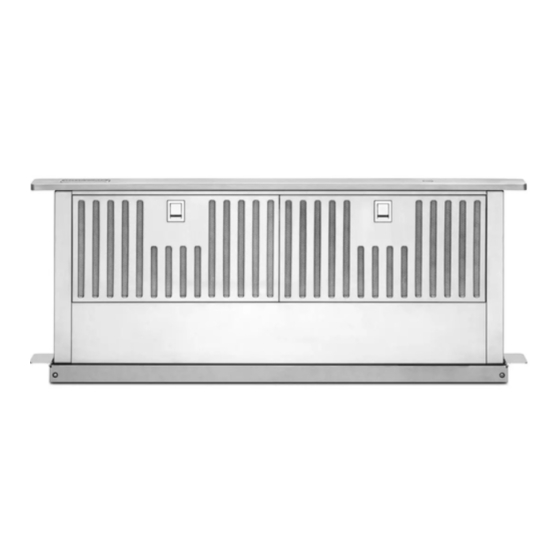
KitchenAid KIRD807HSS0 and Instrukcje instalacji oraz instrukcja obsługi i konserwacji - Strona 7
Przeglądaj online lub pobierz pdf Instrukcje instalacji oraz instrukcja obsługi i konserwacji dla Okap wentylacyjny KitchenAid KIRD807HSS0 and. KitchenAid KIRD807HSS0 and 14 stron. 30" and 36" retractable downdraft vent systems

6" 115.2 cm) round
vent
system
90 ° elbows
_-6
ft. (1,8 m) --}_1
ft, (9.6
m)
Ma×imum
length
= 35 ft. 1&9 m)
1 - wall cap
=Off,
(0m)
8 ft. (2.4 m) straight
=8ft.
(2.4 m)
2-90 ° elbows
=10ft.
(3m)
Transition
= 4.5 ft,
(1.4 m)
Length of 6""
(15.2 am) system
= 22.5 ft, (6.9 m)
Recommended
standard
fittings
3-1/4" x 10"
(8.3 cmx 25,4 am)
to 6" (15,2 am}
= 4.5 ft. {1,4 m)
3ol/4" x 10"
(8,3 cmx 25.4 am)
to 6" (15.2 am)
90° elbow =
5 ft. {1.5 m)
90° elbow =
5 ft. (1.5 m)
6" (15.2 am} to
3-1/4" x 10"
{8.3 cmx 25,4 am)
= 1 ft. {0.3 m}
6" (15.2 am) to
3-1/4" x 10"
(&3 cmx 25.4 am)
90° etbow =
5 ft. (1,5 m)
45 ° elbow
=
6" wall cap =
2.3 ft. (0.8m}
0ft,(0m)
l m Put on gbves
and safety
gUasses. PUace cardboard
or
another form of protection
on top
of a fiat surface where you can
easily assemMe the downdraft
vent system. Remove parts
packages, downdraft
vent and
bUower box from carton. Remove
aH shipping
materials,
tape and
protective
film from downdraft
vent and blower
box.
over
counter
support
arm
2m
Attach the left side and right
side overcounter
support
brackets
to the downdraft.
Use 1 screw
with each bracket.
end
cap
_J
\
3m
Attach the ]eft side and right
side end caps to the downdraft.
Use 1 screw with each end cap.
upport
leg
4m
Attach support
legs to side
of downdraft
vent with 2 screw's
in each leg. Do not tighten
screws,
Excessive
Weight Hazard
Use two or more people to move
and install downdraft vent.
Failure to do so can result in back
or other injury.
5m
Carefully
insert
downdraff
vent
into countertop
cutout.Two
people
are recommended
to
support
the weight
of the
downdraft
vent
during
lifting.
Check that
downdraft
vent
is
parallel
to side of cutout
and that
mounting
brackets
overlap
countertop.
mark
J
6m
Move support
legs down
against cabinet floor. Place a level
against front of downdraft
vent
base and adjust until downdraft
vent is level vertically.
Use a
pencil to mark the top of each leg
on downdraft
vent.Then
mark
location of support
leg mounting
holes on cabinet floor. Remove
downdraft
vent from cutout. Drill
starter holes at each mounting
screw' location on cabinet floor.
Align top of legs with pencil
marks on face of downdraft
vent.
Tighten
screws in legs.
7_
Determine
which direction
(down, rear, left, or right) vent
will need to run from blower
vent
when installed
in cabinet.
Down venting:
Downdraft
vent is shipped with
blower
in down venting
position
so no modification
is required.
Go to Step 8.
Left or right venting:
a. Remove 4 hex nuts that attach
blower
box to downdraft
vent
base. Remove blower box.
b, Rotate blower
box 90 ° to left or
right so that vent blower
is
repositioned
in the direction
needed.
c. Reattach blower
box to
downdraft
vent base with 4 hex
nuts.
Rear venting:
a. Remove 4 hex nuts that attach
blower
box to downdraft
vent
base. Remove blower box.
b. Note how' wiring
cable is
installed
under plastic clips inside
vent base.Then
carefully
remove
wiring
cable from plastic clips.
Disconnect
blower wiring
cable.
c. Remove 6 Phillips-head
screws
attaching
blower to blower box.
Remove blower.
