Gardena 8898 Instrukcja obsługi - Strona 6
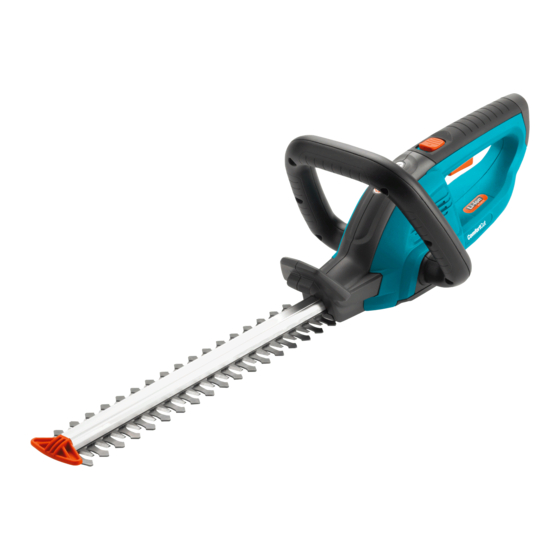
Przeglądaj online lub pobierz pdf Instrukcja obsługi dla Trymer Gardena 8898. Gardena 8898 14 stron. Accu shrub shears
Również dla Gardena 8898: Instrukcja obsługi (15 strony), Instrukcja obsługi (15 strony)
4. Operation
WARNING!
Risk of Injury!
Cut shrubs:
5
3
4
Telescopic Swivel Handle
Art. 8899 (optional):
7
0°
45°
90°
8
135°
180°
ß
5a
9
5. Putting into Storage
Storage / Overwintering:
There is a risk of injury if the switching devices installed
on the Shears are removed or bridged (e. g. by fastening the
on switch to the handle). This prevents the Accu Shears
switching off automatically.
v Never remove or bridge the switching devices.
The starting lockout
being switched on unintentionally.
1. Remove the blade guard
2. Disengage the starting lockout
press the ON button
6
The GARDENA Telescopic Swivel Handle Art. No. 8899 for the
Accu Shears can be mounted in 45° steps. The swivel handle is
fully height adjustable (85 – 120 cm) and can be adapted to suit
your height.
v S lide blade protection
– 45°
Fitting the Telescopic Swivel Handle:
v G uide the swivel handle
– 90°
holder of the Accu Shears until the lock engages.
Removing the Telescopic Swivel Handle:
– 135°
v P ress the release button
Cutting with the Telescopic Swivel Handle:
1. Attach the Telescopic Swivel Handle
2. Loosen the adjusting bolt
ß
6a
3. Set the handle to the correct length and tighten the adjusting
9
bolt
.
4. Disengage the starting lockout
press the ON button
5. Release the starting lockout
Store your Accu Shears out of the reach of children.
1. Charge battery. This increases the life of the battery.
2. Clean Accu Shears and shear blade with GARDENA Cleaning
Spray Art. 2366 (see 6. Maintenance).
3. Slide blade protection onto the shear blade.
4. Store Shears in a cool, dry place where they are protected from
frost.
5
prevents your GARDENA Accu Shears from
3
from the cutting blade
5
by pushing it forwards and
6
. Release the starting lockout
3
onto shear blade.
7
at the desired angle into the handle
8
and pull out the swivel handle
7
.
9
.
ß
by pushing it forwards and
5a
ß
.
6a
ß
again.
5a
4
.
5
again.
7
.
15