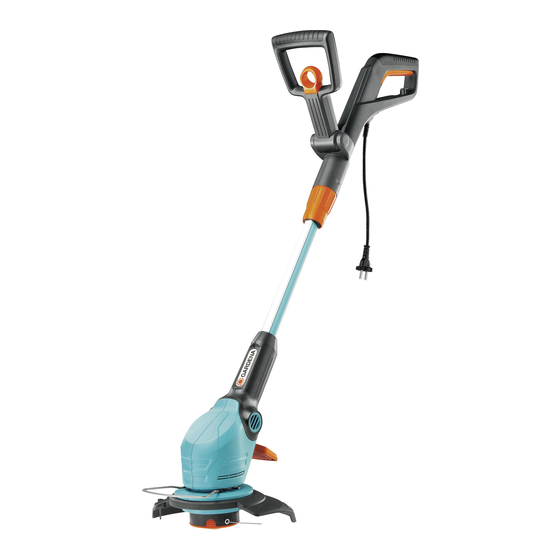
Gardena EasyCut 400/25 Instrukcja obsługi - Strona 4
Przeglądaj online lub pobierz pdf Instrukcja obsługi dla Trymer Gardena EasyCut 400/25. Gardena EasyCut 400/25 15 stron. Turbotrimmer
Również dla Gardena EasyCut 400/25: Instrukcja obsługi (9 strony)

Supply lines must be lighter than:
– common rubber lines (H 05 RNF),
if rubber-insulated;
– common PVC-coated lines (H 05 WF),
if insulated with PVC.
Only connect the device to a mains circuit which
is equipped with a residual current device (RCD)
with a maximum release current of 30 mA.
In Switzerland the use of a residual-current
device is obligatory.
3. Assembly
Assembling the trimmer:
2
1
ß
R
4
3
7
8
14
CAUTION!
The trimmer may only be operated provided that the
protective cover
1. Pull the lock
additional handle
of the snap-fits
the additional handle
the grooves
snap them into the holder
2. From the front, push the plant
guard
into the upper groove
8
of the trimmer head
In doing so, ensure that the
installed bow can rotate
freely (i. e. insert the bow with
the kink pointing upwards).
3. Place the protective cover
top of the trimmer head
4. Turn the protective cover
until it can be pushed over the
trimmer head entirely (the two
arrows
ß
A1
from each other).
5. Rotate the protective cover
9
anti-clockwise until it audibly
engages.
Warning! This machine produces an electro-
magnetical field during operation. This field may
under some circumstances interfere with active
or passive medical implants. To reduce the risk
of serious or fatal injury, we recommend persons
with medical implants to consult their physician
and the medical implant manu facturer before
operating this machine. Do not use the product
when a thunderstorm is approaching.
is assembled.
0
belonging to the
1
, push in both
2
belonging to
3
and, with
2
pointing forwards,
ß
R
.
4
9
.
7
on
0
.
7
0
,
are directly across
ß
A2
0
ß
A2
ß
A1
0
