Fronius 63A-1 Skrócona instrukcja obsługi - Strona 19
Przeglądaj online lub pobierz pdf Skrócona instrukcja obsługi dla System spawania Fronius 63A-1. Fronius 63A-1 20 stron. Smart meter
Również dla Fronius 63A-1: Skrócona instrukcja obsługi (17 strony), Skrócona instrukcja obsługi (2 strony), Skrócona instrukcja obsługi (2 strony), Skrócona instrukcja obsługi (8 strony), Skrócona instrukcja obsługi (10 strony)
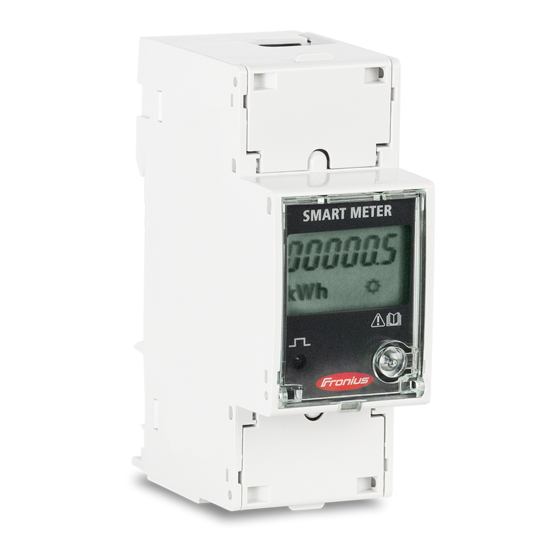
3. FRONIUS SMART METER TROUBLESHOOTING
4.1 – Timeout, meter not detected
If the Fronius Smart Meter is not being detected in the Technician wizard or PV Inverter Homepage try the
following steps in order. After each step try to activate the meter again
1) Restart the inverter, shutdown both AC and DC to the inverter to switch it off and then power it back up.
Reconnect to the wifi access point and attempt to activate the meter again.
2) Check that the 120 Ω resistor is installed correctly across the meter terminals as per the wiring
diagrams in Section 2.1.
3) Confirm that the cable used between smart meter terminals and inverter terminal block are properly
terminated.
4) Confirm that the RS485 wiring between meter terminals and inverter terminal block are correct as per
the wiring diagrams in Section 2.2.
5) If cable is short enough complete a continuity test on the cores used to ensure no breaks in the cable
6) Update the GEN24 inverter/Datamanager 2.0 software. After software update restart the GEN24
inverter/Datamanager 2.0 as per Step 1 of this section. Refer to our update guide for more information:
https://www.fronius.com/~/downloads/Solar%20Energy/Technical%20Articles/SE_TEA_Quick_guide_H
ow_to_update_Fronius_Datamanager_firmware_EN_AU.pdf
4.2 – Data is not accurate in Solar.web
1) Meter is set in the incorrect path compared to actual installation. Refer to Section 1.1 of this guide and
correct as per the above set up steps in 2.2.1 and 2.2.2.
2) Meter is installed in the wrong location in the switchboard. It must be installed after the Normal Supply
Main switch and before the rest of the site loads including the Solar Supply Main Switch for feed in
path. Refer to the single line diagrams in Section 1.1
3) If getting minimal load consumption values the meter may be in parallel with the Normal Supply Main
Switch. Ensure they are in series or the meter will be mostly bypassed.
(c) Fronius International GmbH, 2020
19/19