Gardena 1255 Instrukcja obsługi - Strona 5
Przeglądaj online lub pobierz pdf Instrukcja obsługi dla System nawadniania Gardena 1255. Gardena 1255 9 stron. Valve box
Również dla Gardena 1255: Instrukcja obsługi (8 strony), Instrukcja obsługi (8 strony), Instrukcja obsługi (11 strony)

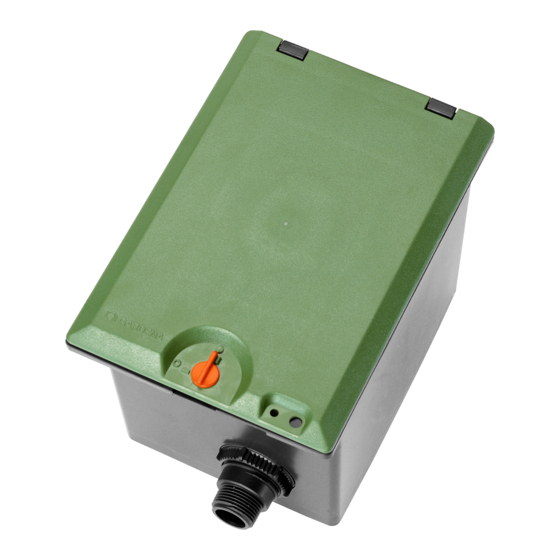
Locking the box lid :
I
J
4. Operation
Adjusting valve control :
K
5. Putting out of operation
Winter storage :
K
6
v Lock the box lid
then protected when the lawn is mowed.
D
D
The box lid
can be locked to protect it against theft.
v Overlap the holes
a small padlock or locking chain.
– or –
Alternatively, you can protect the lid
metal screw (4.2 x 19 mm).
Fully Automatic Control :
v Set selection lever
Program-controlled water flow to watering system according to
programming (using Controller / Radio Receiver or Watering
Controller).
An automatically opened valve cannot be closed manually.
Manual Control :
v Set selection lever
independent of the programming .
The following precautions must be taken – especially before
the frost period starts – to prevent damage to the Irrigation
Valves and the entire watering system :
1. Close the water tap and disconnect the hose from the
GARDENA Water Connection Point Art. No. 1594 / 2795
This allows air to flow freely.
2. If the watering system is directly connected to the water tap,
turn off the water supply and open the venting tap.
3. Set the selection lever
4. Draining the Irrigation Valve / Valve Box.
There are various ways to drain the system :
– Drain the system by blowing out the water with com
pressed air.
– Remove all the valves and store in a place protected
from frost.
– With Valve Box V 3, open the draining cap
the supply line. You can leave the Watering Valves in
the Valve Box provided that the lines leading from the
Valve Box V 3 are drained via a draining valve (e.g. in
the GARDENA Pop-up Sprinklers) that is installed
lower than the Watering Valve.
D
by turning the closing lever
J
in the Valve Box and box lid and lock using
D
K
to "AUTO / OFF".
K
to "ON". Permanent water flow,
K
of all valves to the "ON" position.
I
90°. The lid is
against theft using a
6
and empty
11
