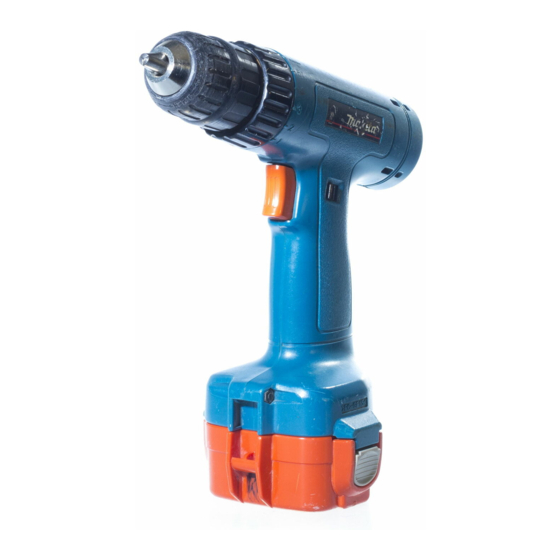
Makita 6223D Instrukcja obsługi - Strona 7
Przeglądaj online lub pobierz pdf Instrukcja obsługi dla Wiertarka Makita 6223D. Makita 6223D 12 stron. Cordless driver drill
Również dla Makita 6223D: Instrukcja obsługi (11 strony)

OPERATING INSTRUCTIONS
Installing or removing battery cartridge (Fig. 1)
• Always switch off the tool before insertion or removal of the battery cartridge.
• To remove the battery cartridge, withdraw it from the tool while pressing the buttons on both sides of the cartridge.
• To insert the battery cartridge, align the tongue on the battery cartridge with the groove in the housing and slip it into
place. Always insert it all the way until it locks in place with a little click. If not, it may accidentally fall out of the tool,
causing injury to you or someone around you.
• Do not use force when inserting the battery cartridge. If the cartridge does not slide in easily, it is not being inserted
correctly.
Charging (Fig. 2)
For DC9710 and DC1470
1.
Plug the battery charger into your power source.
2.
Insert the battery cartridge so that the plus and minus terminals on the battery cartridge are on the same sides as
their respective markings on the battery charger. Insert the cartridge fully into the port so that it rests on the
charger port floor.
3.
When the battery cartridge is inserted, the charging light color will flash in red color and charging will begin.
4.
When charging is completed, the charging light goes out. The charging time is as follows:
Battery 9120, 1220, 1420: approx. 60 minutes.
5.
If you leave the battery cartridge in the charger after the charging cycle is complete, the charger will switch into its
"trickle charge (maintenance charge)" mode.
6.
After charging, remove the battery cartridge from the charger and unplug the charger from the power source.
CAUTION:
• The battery charger is for charging Makita battery cartridge. Never use it for other purposes or for other manufac-
turer's batteries.
• When you charge a new battery cartridge or a battery cartridge which has not been used for a long period of time, it
may not accept a full charge. This is a normal condition and does not indicate a problem. You can recharge the bat-
tery cartridge fully after discharging it completely and recharging a couple of times.
• When you charge a battery cartridge from a just-operated tool or a battery cartridge which has been left in a location
exposed to direct sunlight or heat for a long time, let it cool off. Then re-insert it and try to charge it once more.
• When you charge a new battery cartridge or a battery cartridge which has not been used for a long period, some-
times the charging light will go out soon. If this occurs, remove the battery cartridge and re-insert it. If the charging
light goes out within one minute even after repeating this procedure a couple of times, the battery cartridge is dead.
Replace it with a new one.
For DC9711
1.
Plug the battery charger into your power source.
2.
Insert the battery cartridge so that the plus and minus terminals on the battery cartridge are on the same sides as
their respective markings on the battery charger. Insert the cartridge fully into the port so that it rests on the
charger port floor.
3.
When the battery cartridge is inserted, the charging light will come on and charging will begin.
The charging light will keep lighting up steadily during charging.
4.
When charging is completed, the charging light goes out. The charging time is as follows:
Battery 7000, 7100, 7120, 9000, 9100, 9100A and 9120: approx. 60 minutes.
Battery 7001, 9001, 9101 and 9101A: approx. 80 minutes.
Battery 7002, 9002, 9102, 9102A and 9122: approx. 90 minutes.
Battery 7033, 9033 and 9133: approx. 100 minutes.
Battery 9134: approx. 115 minutes.
Battery 9135: approx. 130 minutes.
5.
If you leave the battery cartridge in the charger after the charging cycle is complete, the charger will switch into its
"trickle charge (maintenance charge)" mode which will last approximately 24 hours.
6.
After charging, unplug the charger from the power source.
CAUTION:
• The battery charger is for charging Makita battery cartridge. Never use it for other purposes or for other manufac-
turer's batteries.
• If you charge a battery cartridge from a just-operated tool or a battery cartridge which has been left in a location
exposed to direct sunlight for a long time, the charging light may flash in red color. If this occurs, wait for a while.
Charging will begin after the battery cartridge cools.
7
