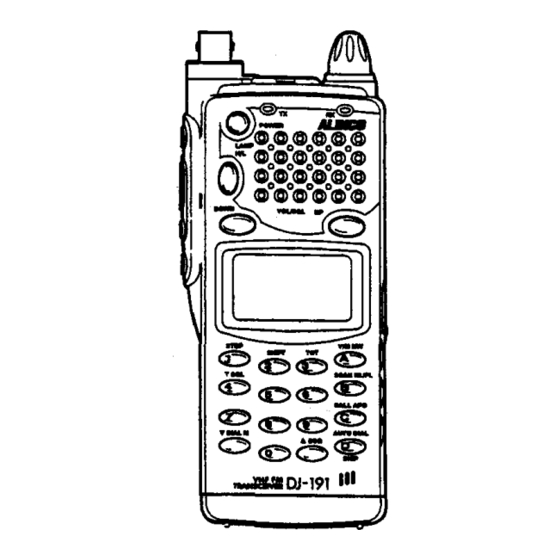
Alinco DJ-191 Instrukcja obsługi - Strona 9
Przeglądaj online lub pobierz pdf Instrukcja obsługi dla Odbiornik Alinco DJ-191. Alinco DJ-191 18 stron. Cert communications team procedures
Również dla Alinco DJ-191: Instrukcja obsługi (18 strony), Skrócona instrukcja obsługi (3 strony), Skrócona instrukcja obsługi (4 strony)

III
I!icHI
~I
•
•
IfJ~
•
.-
•
III·
•
NIII
i-~;;-I
I~"""'~<£:>I
,,-
~~_
...
:<D
cD
~ ~'-II'M'----.
I~
© I
....._C
<e> __
I
l°cDG~1
L
~,;:Dj:m
lio...J
II
•
:==it~~
•
.==n~~.
•
(i
;:;)
(I
7.
CONTROLS/FUNCTIONS
7-1 Top, Front, Sides and Rear View
• L
m
(LOW POWER OUTPUT
T Version:
PTT)
SWITCH (T Verslon)1
Wh
thO
't h .
ssed
th
d'
' 1 1
.
TONE.BURST SWITCH
(~
Version)
en
IS SWI C
IS
pre
, e ra
10 WI
transmit
(Not applicable for OJ-491C)
with a low power output regardless the output power
setting by the
0::,-
key.
12
• LCD DISPLAY PANEL
• MAIN TUNING DIAL
• EXTERNAL MICROPHONE
JACK
• EXTERNAL SPEAKER JACK
Highly visible under all lighting conditions, the LCD
panel displays functional information during trans-
ceiver operations. Refer to LCD DISPLAY section of
this manual.
The main tuning dial/knob may be rotated in either
direction to select transmit/receive frequencies,
memory channels, transmit frequency offsets, and
sub-audible tones.
When the external microphone is prefered, plug in a
2.5mm stereo plug into this jack.
The impedance of the external microphone is 2k
ohms, therefore, most of electret condenser micro-
phone can be used. A dynamic microphone should
not be used.
When an external speaker is prefered, plug in a
3.5mm mono plug into this jack.
The impedance of the external speaker should be
8
ohms. When an external speaker is used, the
internal speaker will be disabled.
•
BNC ANTENNA CONNECTOR
(Not applicable for DJ-491 C)
CD
F (FUNCTION) KEY
• PTT (PUSH TO TALK)
SWI1CH
Connect the supplied rubber duckie antenna.
When an external antenna is connected, please
make sure that your antenna has a low SWR
(Standing Wave Ratio).
Before using your transceiver, it is recommended
that you thoroughly familiarize yourself with the
operation of this key, as it is essential for the majority
of the
radio's functions.
The
iii
key allows you to access the secondary
functions.
You may also reset the radio by holding the
iii
key as
you turn on the unit. This restores the transceiver to
the default settings and erases all memory channels
besides other settings. (Not applicable for DJ-491 C)
To transmit, press and hold this switch. When you
release it, the unit will return to the receive mode.
13
