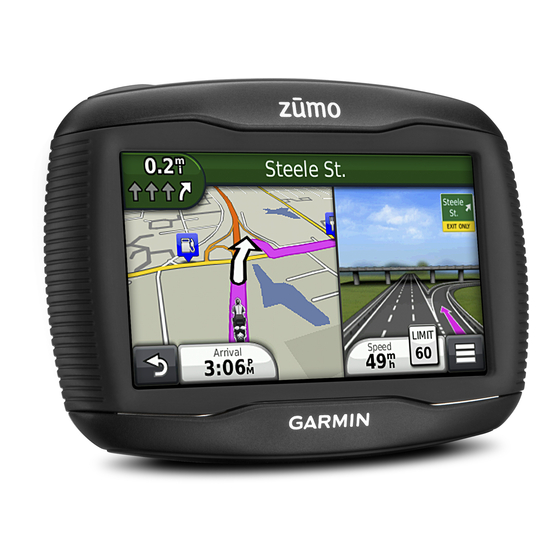
Garmin ZUMO 340 Instrukcja obsługi - Strona 13
Przeglądaj online lub pobierz pdf Instrukcja obsługi dla GPS Garmin ZUMO 340. Garmin ZUMO 340 25 stron. Declaration of conformity
Również dla Garmin ZUMO 340: Instrukcja instalacji (46 strony), (francuski) Deklaracja zgodności (5 strony)

Viewing Trip Information
The trip information page displays your present speed and
provides statistics about your trip.
NOTE: If you make frequent stops, leave the device turned on,
so it can accurately measure elapsed time during the trip.
From the map, select
Resetting Trip Information
1
From the map, select
2
Select
> Reset Field(s).
3
Select an option:
• When not navigating a route, select Select All to reset
every data field except the speedometer, on the first
page.
• Select Reset Trip Data to reset the information on the trip
computer.
• Select Reset Max. Speed to reset the maximum speed.
• Select Reset Trip B to reset the odometer.
Viewing Current Location Information
You can use the Where Am I? page to view information about
your current location. This feature is helpful if you need to tell
emergency personnel your location.
From the map, select
Finding Nearby Services
You can use the Where Am I? page to find nearby services,
such as hospitals or police stations.
1
From the map, select
2
Select a category.
Getting Directions to Your Current Location
If you need to tell another person how to get to your current
location, your device can give you a list of directions.
Select Apps > Where Am I? >
Hands-Free Voice Prompts
About Wireless Headsets
Using wireless technology, your device can send audio
navigation prompts to a wireless headset. For more information,
go to
www.garmin.com/bluetooth
Enabling Bluetooth Wireless Technology
1
Select Settings > Bluetooth.
2
Select Bluetooth.
Pairing a Wireless Headset
Before you can receive navigation prompts through your
headset, you must pair your device with a compatible mobile
headset.
1
Place your headset and your Bluetooth device within 33 ft.
(10 m) of each other.
2
On your device, enable wireless technology.
3
Select an option:
Hands-Free Voice Prompts
> Trip Computer.
> Trip Computer.
> Where Am I?.
> Where Am I?.
> Directions to Me.
• Select Add Headset.
• If you have already paired a different headset, select
Settings > Bluetooth > Add Headset.
4
On your headset, enable Bluetooth wireless technology.
5
On your device, select OK.
A list of nearby Bluetooth devices appears.
6
Select your headset from the list, and select OK.
7
If necessary, confirm that the device is allowed to connect.
8
If necessary, enter the device Bluetooth PIN (0000) into your
headset.
Your device will send navigation prompts to your headset while
you navigate a route.
Deleting a Paired Headset
You can delete a paired headset to prevent it from automatically
connecting to your device in the future.
1
Select Settings > Bluetooth > Headset.
2
Select
.
3
Select the headset, and select Delete.
Disconnecting Your Headset
1
Select Settings > Bluetooth.
2
Select Headset > None > Save.
3
Select Yes.
Your headset is disconnected from your device but remains
paired with your device.
Tips After Pairing the Devices
• After the initial pairing, the two devices can connect
automatically each time you turn them on.
• When your phone is connected to your device, you are ready
to make phone calls.
• When you turn on the device, it tries to connect to the last
phone to which it was connected.
• You might need to set your mobile phone to connect to the
device automatically when the device is turned on.
Using the Apps
Using Help
Select Apps > Help to view information about using the
device.
Searching Help Topics
Select Apps > Help >
Planning a Trip
You can use the trip planner to create and save a trip with
multiple destinations.
1
Select Apps > Trip Planner.
2
Select New Trip.
3
Select Select Start Location.
4
Search for a location
(page
5
Select Select.
6
To add additional locations, select
7
Select Next.
8
Enter a name, and select Done.
Scheduling a Trip
You can use the trip planner to create and save a trip with
multiple destinations.
1
Select Apps > Trip Planner.
.
4).
.
9
