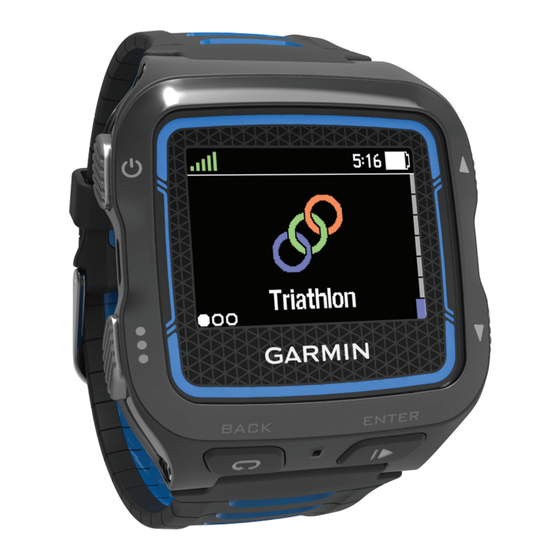
Garmin Forerunner 920XT Instrukcja obsługi - Strona 21
Przeglądaj online lub pobierz pdf Instrukcja obsługi dla Oglądaj Garmin Forerunner 920XT. Garmin Forerunner 920XT 28 stron.
Również dla Garmin Forerunner 920XT: Instrukcja obsługi (24 strony)

User Replaceable Batteries
Do not use a sharp object to remove batteries.
Keep the battery away from children.
Never put batteries in mouth. If swallowed, contact your
physician or local poison control center.
Replaceable coin cell batteries may contain perchlorate
material. Special handling may apply. See
/hazardouswaste/perchlorate.
Contact your local waste disposal department to properly
recycle the batteries.
Replacing the HRM-Swim Battery and the HRM-Tri Battery
1
Remove the sleeve
from the heart rate monitor module.
2
Use a small Phillips (00) screwdriver to remove the four
screws on the front of the module.
3
Remove the cover and battery.
4
Wait 30 seconds.
5
Insert the new battery under the two plastic tabs
positive side facing up.
NOTE: Do not damage or lose the O-ring gasket.
The O-ring gasket should remain around the outside of the
raised plastic ring.
6
Replace the front cover and the four screws.
Observe the orientation of the front cover. The raised screw
should fit in the matching raised screw hole on the front
cover.
NOTE: Do not overtighten.
7
Replace the sleeve.
After you replace the heart rate monitor battery, you may need
to pair it with the device again.
Replacing the HRM-Run Battery
1
Use a small Phillips screwdriver to remove the four screws on
the back of the module.
2
Remove the cover and battery.
3
Wait 30 seconds.
4
Insert the new battery with the positive side facing up.
NOTE: Do not damage or lose the O-ring gasket.
5
Replace the back cover and the four screws.
NOTE: Do not overtighten.
Troubleshooting
WARNING
www.dtsc.ca.gov
CAUTION
with the
After you replace the heart rate monitor battery, you may need
to pair it with the device again.
Troubleshooting
Support and Updates
Garmin Express (www.garmin.com/express) provides easy
access to these services for Garmin devices.
• Product registration
• Product manuals
• Software updates
• Data uploads to Garmin Connect
Getting More Information
• Go to www.garmin.com/intosports.
• Go to www.garmin.com/learningcenter.
• Go to http://buy.garmin.com, or contact your Garmin dealer
for information about optional accessories and replacement
parts.
Acquiring Satellite Signals
The device may need a clear view of the sky to acquire satellite
signals. The time and date are set automatically based on the
GPS position.
1
Go outdoors to an open area.
The front of the device should be oriented toward the sky.
2
Wait while the device locates satellites.
It may take 30–60 seconds to locate satellite signals.
Improving GPS Satellite Reception
• Frequently sync the device to your Garmin Connect account:
◦ Connect your device to a computer using the USB cable
and the Garmin Express application.
◦ Sync your device to the Garmin Connect Mobile app using
your Bluetooth enabled smartphone.
◦ Connect your device to your Garmin Connect account
using a Wi‑Fi wireless network.
While connected to your Garmin Connect account, the device
downloads several days of satellite data, allowing it to quickly
locate satellite signals.
• Take your device outside to an open area away from tall
buildings and trees.
• Remain stationary for a few minutes.
Resetting the Device
If the device stops responding, you may need to reset it. This
does not erase any of your data or settings.
1
Hold
for 15 seconds.
The device turns off.
2
Hold
for one second to turn on the device.
Clearing User Data
You can restore all of the device settings to the factory default
values.
NOTE: This deletes all user-entered information, but it does not
delete your history.
1
Hold .
2
Select Yes to turn off the device.
3
While holding , hold
4
Select Yes.
to turn on the device.
17
