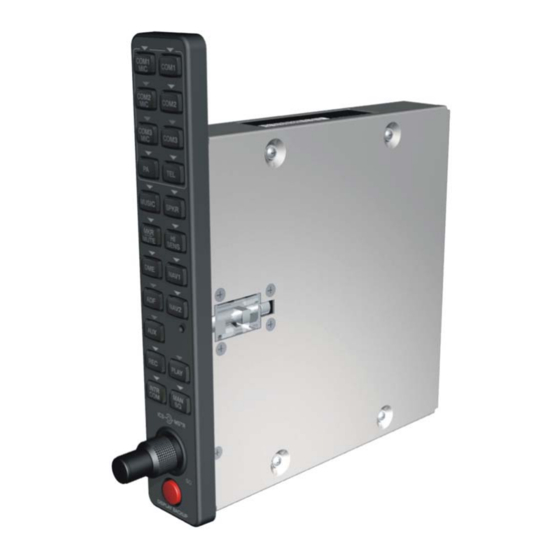
Garmin GMA 1347D-00 Instrukcja instalacji - Strona 23
Przeglądaj online lub pobierz pdf Instrukcja instalacji dla Wyświetlacz awioniki Garmin GMA 1347D-00. Garmin GMA 1347D-00 47 stron.

3
INSTALLATION PROCEDURE
3.1
Unpacking Unit
Carefully unpack the equipment and make a visual inspection of the unit for evidence of damage incurred
during shipment. If the unit is damaged, notify the carrier and file a claim. To justify a claim, save the
original shipping container and all packing materials. Do not return the unit to Garmin until the carrier
has authorized the claim.
Retain the original shipping containers for storage. If the original containers are not available, a separate
cardboard container should be prepared that is large enough to accommodate sufficient packing material
to prevent movement.
3.2
Antenna Installation
Install the antenna according to the antenna manufacturer's instructions.
3.3
Antenna Cable Connectors
The antenna cable requires a BNC plug connector on both ends. Follow BNC connector manufacturer
instructions for assembly of the BNC connector.
3.4
Electrical Connections
All electrical connections to the GMA 1347D, including the marker beacon antenna and shield ground,
are made through two 78-pin D-subminiature connectors (see Figure 4-1). Tables in Section 4 define the
electrical characteristics of all input and output signals. Required connector and associated hardware are
supplied in the connector kit (P/N 011-00813-01). See figures in Appendix B for interconnect wiring
diagrams.
Check wiring connections for errors before inserting the GMA 1347D into the rack.
Incorrect wiring could cause internal component damage.
Manufacturer
Garmin P/N
Military P/N
AMP
Positronic
ITT Cannon
GMA 1347D Installation Manual
190-00303-21
CAUTION
Table 3-1. Pin Contact Part Numbers
78 pin D-Subminiature Connectors (P3471, 3472)
16 AWG
18-20 AWG
(Power Only)
(Power Only)
336-00044-01
336-00044-00
N/A
N/A
N/A
N/A
22-28 AWG
336-00021-00
NA
M39029/58-360
NA
204370-2
NA
MC8522D
NA
030-2042-000
Page 3-1
Revision C
