Garmin GPSMAP 8500 Black Box Skrócona instrukcja obsługi - Strona 2
Przeglądaj online lub pobierz pdf Skrócona instrukcja obsługi dla Morski system GPS Garmin GPSMAP 8500 Black Box. Garmin GPSMAP 8500 Black Box 4 stron. Quick start manual
Również dla Garmin GPSMAP 8500 Black Box: Instrukcja obsługi (12 strony), Instrukcja obsługi (36 strony)
Introduction
See the Important Safety and Product Information guide in the
product box for product warnings and other important
information.
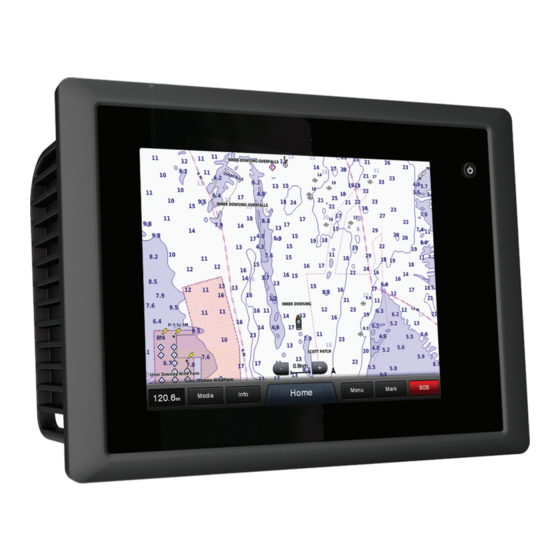
GPSMAP 8000 Series Front View
The location of items varies based upon the model. This image
and table are representations of the GPSMAP 8000 series
devices.
Power key
Automatic backlight sensor
Touchscreen
Tips and Shortcuts
• Select Home from any screen to return to the Home screen.
• Select Menu from any main screen to access additional
settings about that screen.
• Press
to adjust the backlight and lock the touchscreen.
• Hold
to turn the chartplotter on or off.
GPS Satellite Signals
When you turn on the chartplotter, the GPS receiver must
collect satellite data and establish the current location. When
the chartplotter acquires satellite signals,
of the Home screen. When the chartplotter loses satellite
signals,
disappears and a flashing question mark appears
over on the chart.
For more information about GPS, go to
/aboutGPS.
Using the Touchscreen
• Tap the screen to select an item.
• Drag or swipe your finger across the screen to pan or scroll.
• Pinch two fingers together to zoom out.
• Spread two fingers apart to zoom in.
Locking the Touchscreen
You can lock the touchscreen to prevent inadvertent screen
touches.
1
Select .
2
Select Lock Touchscreen.
Adjusting the Backlight
1
Select Settings > System > Display > Backlight.
TIP: Press
from any screen to access the backlight
settings.
2
Select an option:
• Adjust the backlight level.
• Select Enable Auto Backlight or Auto.
Adjusting the Color Mode
1
Select Settings > System > Display > Color Mode.
2
WARNING
appears at the top
www.garmin.com
2
Select an option.
Inserting a Memory Card
You can use optional memory cards in the chartplotter. Map
cards allow you to view high-resolution satellite imagery and
aerial reference photos of ports, harbors, marinas, and other
points of interest. You can use blank memory cards to transfer
data such as waypoints, routes, and tracks to another
compatible Garmin chartplotter or a computer.
1
Open the door
on the memory card reader.
2
Insert the memory card
door.
3
Press the card in until it clicks.
4
Close the card reader door.
Waypoints
Waypoints are locations you record and store in the device.
Marking Your Present Location as a Waypoint
From any screen, select Mark.
Creating a Waypoint at a Different Location
1
Select Nav Info > Manage Data > Waypoints > Create
Waypoint.
2
Select an option:
• To create the waypoint by entering position coordinates,
select Enter Coordinates, and enter the coordinates.
• To create the waypoint using a chart, select Use Chart,
select the location, and select Move Waypoint.
Marking and Navigating to an MOB Location
When you mark a waypoint, you can designate it as a man
overboard (MOB) location.
Select an option:
• From any screen, select Mark > Man Overboard > Yes.
• From any screen, select Man Overboard > Yes.
An international MOB symbol marks the active MOB point and
the chartplotter sets a direct course back to the marked location.
Navigation
Navigating to a Point on the Chart
The Auto Guidance feature is based on electronic chart
information. That data does not ensure obstacle and bottom
clearance. Carefully compare the course to all visual sightings,
and avoid any land, shallow water, or other obstacles that may
be in your path.
When using Go To, a direct course and a corrected course may
pass over land or shallow water. Use visual sightings, and steer
to avoid land, shallow water, and other dangerous objects.
NOTE: The offshore Fishing chart is available with premium
charts, in some areas.
NOTE: Auto Guidance is available with premium charts, in
some areas.
1
From the Navigation chart or Fishing chart, select a location.
with the label facing away from the
CAUTION