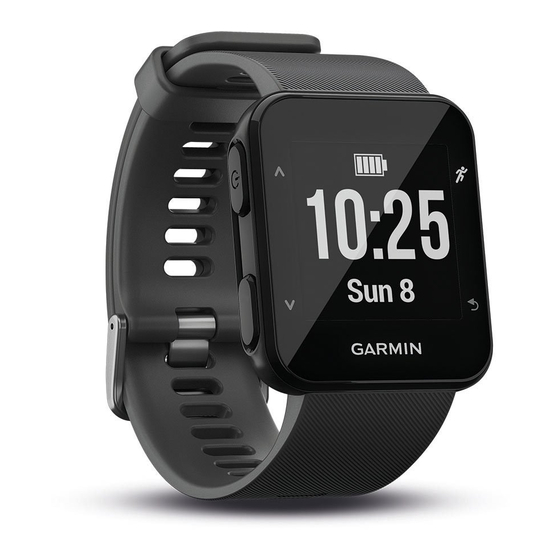
Garmin Forerunner 30 Instrukcja obsługi - Strona 5
Przeglądaj online lub pobierz pdf Instrukcja obsługi dla Wyposażenie morskie Garmin Forerunner 30. Garmin Forerunner 30 14 stron. Garmin sl 30 aviation-nav/comm: release note
Również dla Garmin Forerunner 30: Instrukcja obsługi (38 strony), Uwaga dotycząca wydania (2 strony)

Introduction
See the Important Safety and Product Information guide in the
product box for product warnings and other important
information.
Always consult your physician before you begin or modify any
exercise program.
Keys
Hold to turn the device on and off.
Select to scroll through the screens, pages, options, and
settings.
Select to start and stop the timer.
Select to choose a menu item.
Select to view more information.
Select to return to the previous screen.
Select to mark a new lap, when the lap key function is
enabled.
From the time of day screen, select to view the menu.
Using the Backlight
• Select any key to turn on the backlight.
NOTE: Alerts and messages activate the backlight
automatically.
• Double-tap the watch face to turn on the backlight.
• Double-tap the watch face to turn off the backlight.
• Turn on Backlight Gesture in the Garmin Connect
Charging the Device
This device contains a lithium-ion battery. See the Important
Safety and Product Information guide in the product box for
product warnings and other important information.
To prevent corrosion, thoroughly clean and dry the contacts and
the surrounding area before charging or connecting to a
computer. Refer to the cleaning instructions in the appendix.
1
Align the charger posts with the contacts on the back of the
device, and connect the charging clip
device.
2
Plug the USB cable into a USB charging port.
3
Charge the device completely.
Introduction
WARNING
WARNING
NOTICE
securely to the
4
Press
to remove the charger.
Tips for Charging the Device
1
Connect the charger securely to the device to charge it using
the USB cable
You can charge the device by plugging the USB cable into a
Garmin
®
approved AC adapter with a standard wall outlet or a
USB port on your computer. Charging a fully depleted battery
takes up to two hours.
2
Remove the charger from the device after the battery charge
level icon
Going for a Run
The first fitness activity you record on your device should be an
outdoor run. You may need to charge the device
Device, page
1
Select .
2
Go outside, and wait while the device locates satellites.
3
Select
to start the timer.
4
Go for a run.
The timer appears.
5
Select
6
After you complete your run, select
7
Select an option:
• Select Resume to restart the timer.
• Select Save to save the run and reset the timer. You can
view a summary of the run.
NOTE: If your activity was walking, biking, or something
™
settings.
else, the device uses Move IQ technology to determine
the activity.
• Select Discard > Yes to delete the run.
Other Fitness Activities
In addition to running, your device can record walking, cycling,
and cardio activities. The cardio category includes all of your
other activities that are not running, walking, or cycling. When
you start the timer, the device uses Move IQ technology to
automatically detect the activity type. If you are training indoors,
you can start the activity timer without waiting for GPS. The
device detects if you are training inside or outside.
You can view the activity details on your device. You can view
activity details and edit the activity type on your Garmin Connect
account.
Turning Off GPS
You can turn off GPS when you are training indoors or to save
battery life. When GPS is off, speed and distance are calculated
using the accelerometer in the device. The accelerometer is
self-calibrating. The accuracy of the speed and distance data
improves after a few outdoor runs using GPS.
1
Select .
2
Select
.
(Charging the Device, page
is full and stops flashing.
Training
1) before starting the activity.
or
to view additional data screens (optional).
1).
(Charging the
to stop the timer.
1
