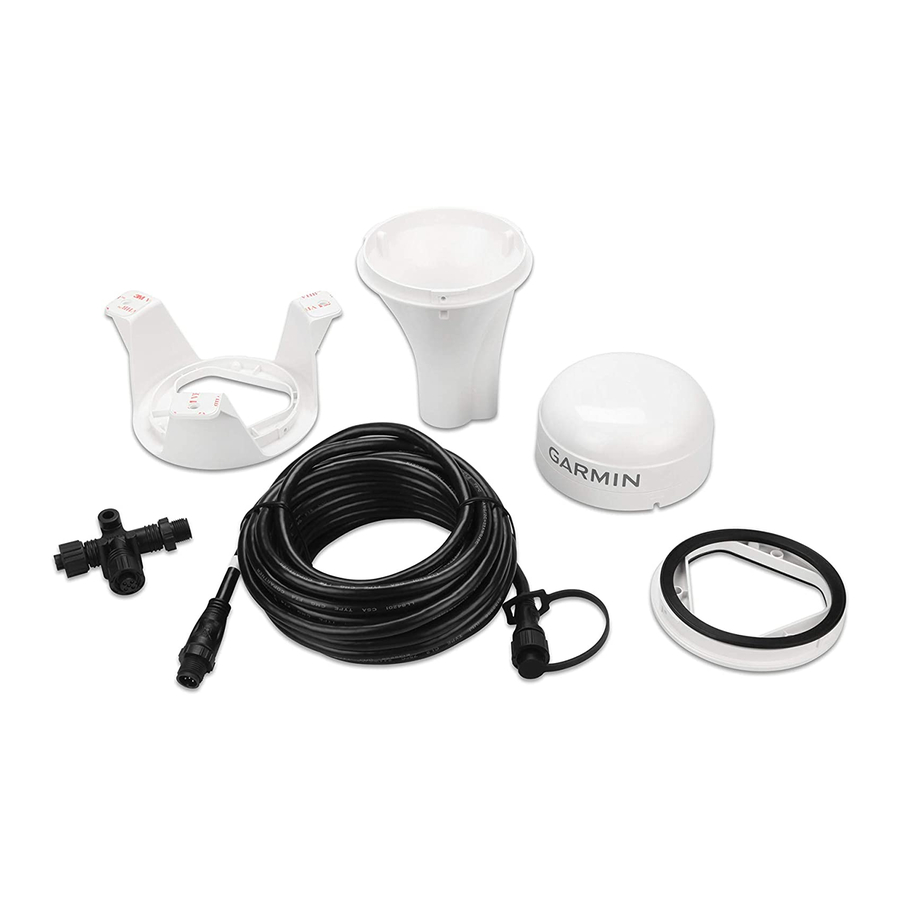
Garmin GPS 19x NMEA 2000 Instrukcje instalacji
Przeglądaj online lub pobierz pdf Instrukcje instalacji dla Wyposażenie morskie Garmin GPS 19x NMEA 2000. Garmin GPS 19x NMEA 2000 4 stron. Gps antenna
Również dla Garmin GPS 19x NMEA 2000: Instrukcja instalacji (49 strony), Instrukcje instalacji (4 strony)

GPS 19X NMEA 2000
INSTALLATION
INSTRUCTIONS
Important Safety Information
To avoid possible personal injury, always wear safety goggles,
ear protection, and a dust mask when drilling, cutting, or
sanding.
When drilling or cutting, always check what is on the opposite
side of the surface to avoid damaging the vessel.
For the best performance and to avoid damage to your boat,
read all installation instructions before proceeding. Install the
device per these instructions. Use the appropriate fasteners,
tools, and mounts listed, which are available at most marine
dealers.
For more information, go to support.garmin.com.
Tools Needed
• Drill
• 3.2 mm (1/8 in.) drill bit
• 19 mm (3/4 in.) drill bit for a pole-mount cable-hole
• 25 mm (1 in.) hole saw for a surface-mount cable-hole
• Countersink bit for mounting on fiberglass
• Screws for under-deck mounting
• Screwdriver, appropriate for the screw type
• Marine sealant (optional)
• Additional NMEA 2000 network components as needed
Mounting the Antenna
Antenna Mounting Considerations
Do not install or store the antenna near strong magnets,
including speakers. A strong magnetic field can damage the
antenna.
You can mount the antenna on a flat surface or attach it to a
standard 1 in. OD, 14 threads per inch, pipe-threaded pole (not
included). You can route the cable outside of the pole or through
the pole. For best performance, consider these guidelines when
selecting the antenna mounting location.
• To ensure the best reception, the antenna should be
mounted in a location that has a clear, unobstructed view of
the sky in all directions
January 2021
®
CAUTION
NOTICE
CAUTION
.
• The antenna should not be mounted where it is shaded by
the superstructure of the boat
mast.
• The antenna should not be mounted near the engine or other
sources of Electromagnetic Interference (EMI)
• The antenna should not be mounted near known ferrous
metal objects such as a toolbox or compass.
• If a radar is present, the antenna should be mounted above
the path of the radar
. If necessary, the antenna may be
mounted below the path of the radar
• The antenna should not be mounted directly in the path of the
radar
.
• The antenna should not be mounted within 1 m (3 ft.) of a
VHF radio antenna or the path of a radar
Testing the Mounting Location
1
Temporarily secure the antenna in the preferred mounting
location and test it for correct operation.
2
If you experience interference with other electronics, move
the antenna to a different location, and test it again.
3
Repeat steps 1–2 until you observe full or acceptable signal
strength.
4
Permanently mount the antenna.
Surface Mounting the Antenna
If you are mounting the bracket on fiberglass with screws, it is
recommended to use a countersink bit to drill a clearance
counterbore through only the top gel-coat layer. This will help to
avoid cracking in the gel-coat layer when the screws are
tightened.
Before you permanently mount the antenna, you must test the
mounting location for correct operation
Location, page
1).
1
Using the surface-mount bracket
template, mark the three pilot-hole locations and trace the
cable-hole in the center of the bracket.
TA-2013/784
GUID-512A740F-7146-4626-9C08-48DB06A8A4EE v1
, a radome antenna, or the
.
.
.
NOTICE
(Testing the Mounting
as your mounting
