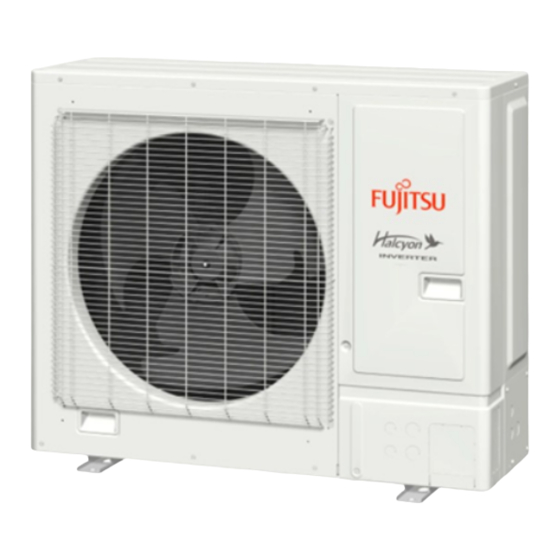
Fujitsu 24LMAS1 Instrukcja instalacji - Strona 10
Przeglądaj online lub pobierz pdf Instrukcja instalacji dla Klimatyzator Fujitsu 24LMAS1. Fujitsu 24LMAS1 17 stron. Outdoor unit

3.9.2. Knock out holes for wiring
• Be careful not to deform or scratch the panel while opening the knock out holes.
• When cables are routed from the unit, a protection sleeve for the conduits can be
inserted at the knock out hole.
• If you do not use a wire conduit, be sure to protect the wires to prevent the edge of
the knock out hole from cutting the wires.
• It is recommended to apply anti-rust paint to the edge of the knock out hole.
• Knock out holes are provided 2 each in the same size in front, lateral and rear sides.
Wiring procedure
Front connection
Cable with
conduit
(for connection
cable)
Lock nut
Cable with conduit
(for power cable)
Fix the conduit with the supporters as shown below.
Conduit (Power supply cable)
Outdoor unit
30 in
(756 mm)
(1,360 mm)
or less
3.9.3. Wiring method
When connecting the power supply cable, make sure that the phase of the power
supply matches with the phase of the terminal board. If the phases do not match, the
compressor will rotate in reverse and will not be able to compress.
Connection diagrams
Power supply
Power line
Indoor unit
side terminal
Cable preparation
• Keep the ground (earth) wire longer than the other wires.
1-9/16 in (40 mm)
Ground (Earth)
wire
En-10
CAUTION
Lateral connection
Rear connection
Lock nut
Supporter
54 in
54 in
(1,360 mm)
(1,360 mm)
or less
or less
CAUTION
Ground
(Earth)
L2
L1
Ground
(Earth)
Outdoor unit
side terminal
Power supply cable or
Connection cable
2-3/8 in (60 mm)
Wiring procedure
(1) • Remove the tapping screws. (2 places)
• Remove the service cover by pushing downwards.
(2) Connect the power supply cable and the connection cable to terminal.
(3) Fasten the power supply cable and connection cable with cable tie.
54 in
or less
(4) Secure the cables using the cable tie attached to the base of the valves.
(5) Put the service cover back after completion of the work.
Replace the tapping screws. (2 places)
Screws
Direction of the
service cover
removal
Service cover
Terminal blocks
Use the specified
wire type and
connect it securely.
Firmly secure cable tie
so wire terminations will not receive
external stress.
L1 L2
Connection cable
Ground
Indoor
(Earth)
unit
Direction of the
service cover
attachment
Service cover
Power supply cable
Cable tie
