Brother MFC-J4610DW Podręcznik szybkiej konfiguracji - Strona 10

Przeglądaj online lub pobierz pdf Podręcznik szybkiej konfiguracji dla Wszystko w jednej drukarce Brother MFC-J4610DW. Brother MFC-J4610DW 45 stron. Quick setup guide - spanish
Również dla Brother MFC-J4610DW: Podręcznik szybkiej konfiguracji (47 strony), Podręcznik (36 strony), Podręcznik (22 strony), Podręcznik bezpieczeństwa produktu (17 strony), Podręcznik (13 strony), Podręcznik (13 strony), Podręcznik bezpieczeństwa produktu (20 strony), Skrócona instrukcja obsługi (29 strony), Podręcznik bezpieczeństwa produktu (25 strony), Podręcznik Start Here (47 strony), (Hiszpański) Podręcznik Guia De Web Connect (38 strony), (Hiszpański) Podręcznik (24 strony), (Angielski) Podręcznik bezpieczeństwa produktu (16 strony), (Hiszpański) Podręcznik (12 strony), (Hiszpański) Podręcznik (11 strony), (Angielski) Skrócona instrukcja konfiguracji (47 strony)
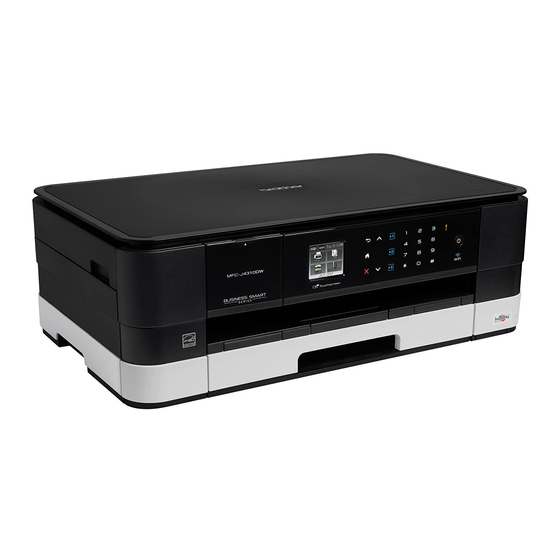
Brother MFC-J4610DW Podręcznik szybkiej konfiguracji
12
Set the telephone line
type
If you are connecting the machine to a line that
features PBX or ISDN to send and receive faxes, it is
necessary to change the telephone line type
accordingly by completing the following steps.
a
Press Settings.
b
Press s or t to display Initial Setup.
Press Initial Setup.
c
Press s or t to display Phone Line Set.
Press Phone Line Set.
d
Press s or t to display Normal, PBX or ISDN.
Press the desired telephone line type.
NOTE
If you choose PBX the machine will then ask you
to set the Dial Prefix. uuBasic User's Guide:
Setting the Telephone Line Type
e
Press
.
NOTE
PBX and TRANSFER
The machine is initially set to Normal, which lets
the machine connect to a standard PSTN (Public
Switched Telephone Network) line. However,
many offices use a central telephone system or
Private Branch Exchange (PBX). Your machine
can be connected to most types of PBX. The
machine's recall feature supports timed break
recall only (TBR). TBR will work with most PBX
systems allowing you to gain access to an outside
line, or transfer calls to another extension. The
feature works when the R on the Touchscreen is
pressed.
13
Set the telephone line
compatibility (VoIP)
If you are connecting the machine to a VoIP service
(over the Internet) you need to change the
compatibility setting.
NOTE
If you are using an analogue telephone line you
can skip this step.
10
a
Press Settings.
b
Press s or t to display Initial Setup.
Press Initial Setup.
c
Press s or t to display Compatibility.
Press Compatibility.
d
Press s or t to display Basic(for VoIP).
Press Basic(for VoIP).
e
Press
.
14
Automatic Daylight
Savings Time
You can set the machine to change automatically for
daylight savings time. It will set the time forward one
hour in the spring and backward one hour in the fall.
a
Press Settings.
b
Press s or t to display Initial Setup.
Press Initial Setup.
c
Press Date & Time.
d
Press s or t to display Auto Daylight.
Press Auto Daylight.
e
Press On (or Off).
f
Press
.
15

Set the Time Zone

You can set the time zone on the machine for your
location.
a
Press Settings.
b
Press s or t to display Initial Setup.
Press Initial Setup.
c
Press Date & Time.
d
Press s or t to display Time Zone.
Press Time Zone.
e
Enter your time zone.
Press OK.
f
Press
.