Brother Business Smart MFC-J4510dw Podręcznik szybkiej konfiguracji - Strona 4

Przeglądaj online lub pobierz pdf Podręcznik szybkiej konfiguracji dla Drukarka Brother Business Smart MFC-J4510dw. Brother Business Smart MFC-J4510dw 47 stron. Quick setup guide - spanish
Również dla Brother Business Smart MFC-J4510dw: Podręcznik (36 strony), Podręcznik (22 strony), Podręcznik bezpieczeństwa produktu (17 strony), Podręcznik (13 strony), Podręcznik (22 strony), Podręcznik szybkiej konfiguracji (47 strony), Podręcznik (18 strony), Broszura i specyfikacje (4 strony), Podręcznik bezpieczeństwa produktu (20 strony), Specyfikacje (2 strony), Podręcznik szybkiej konfiguracji (47 strony), Skrócona instrukcja obsługi (29 strony), Podręcznik bezpieczeństwa produktu (25 strony), (Hiszpański) Podręcznik Guia De Web Connect (38 strony), (Hiszpański) Podręcznik (24 strony), (Angielski) Podręcznik bezpieczeństwa produktu (16 strony), (Hiszpański) Podręcznik (11 strony), (Angielski) Skrócona instrukcja konfiguracji (47 strony)
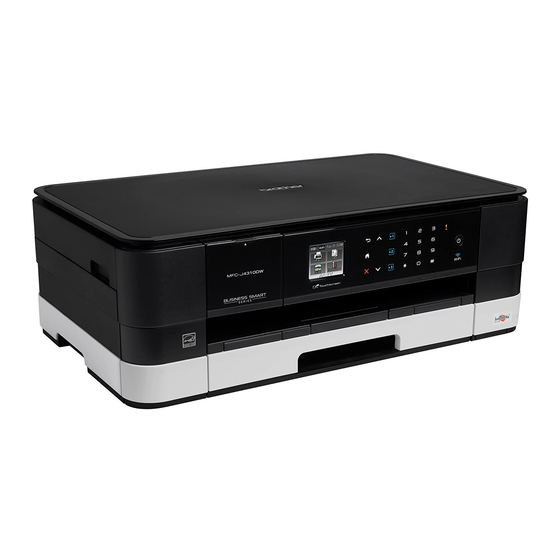
Brother Business Smart MFC-J4510dw Podręcznik szybkiej konfiguracji
3
Connect the power cord
and telephone line
IMPORTANT
DO NOT connect the USB cable yet (if you are
using a USB cable).
a
Connect the power cord.
NOTE
• If you do not plan to use the fax feature on this
machine, go to step 4 on page 5.
• To prolong print head life, provide the best ink
cartridge economy and maintain print quality,
we do not recommend frequently unplugging
the machine and/or leaving the machine
unplugged for extended periods of time. We
recommend using
machine. Using
the machine, which ensures periodic cleaning
of the print head.
b
Lift the scanner cover until it locks securely into
the open position.
4
to power down the
allows minimal power to
c
Connect the telephone line cord.
Connect one end of the telephone line cord to
the jack of the machine marked LINE.
Carefully guide the telephone line cord into the
cable channel and out the back of the machine.
Connect the other end to a modular wall jack.
IMPORTANT
The telephone line cord MUST be connected to
the jack of the machine marked LINE.
d
Lift the scanner cover to release the lock a.
Gently push the scanner cover support
down b and close the scanner cover c using
both hands.
2
1
3