Brother QL 570 - P-Touch B/W Direct Thermal Printer Instrukcja konfiguracji i obsługi - Strona 19

Przeglądaj online lub pobierz pdf Instrukcja konfiguracji i obsługi dla Urządzenie do tworzenia etykiet Brother QL 570 - P-Touch B/W Direct Thermal Printer. Brother QL 570 - P-Touch B/W Direct Thermal Printer 43 stron. Professional label printer
Również dla Brother QL 570 - P-Touch B/W Direct Thermal Printer: Broszura (4 strony), Podręcznik użytkownika (36 strony), Podręcznik użytkownika (26 strony), Podręcznik użytkownika (40 strony), Instrukcja konfiguracji i obsługi (45 strony), Podręcznik użytkownika (2 strony), Instrukcja instalacji oprogramowania (15 strony)
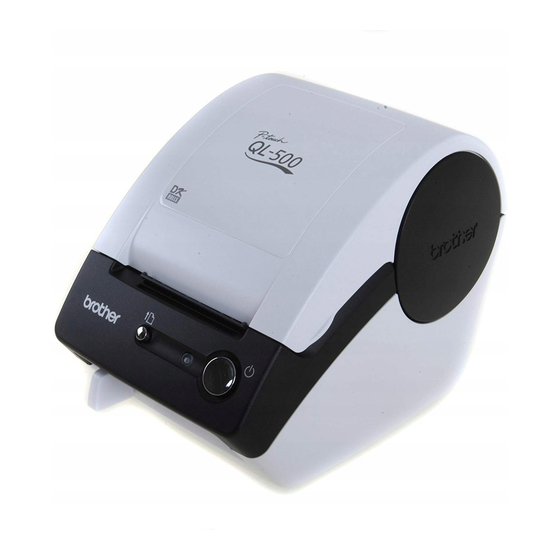
Brother QL 570 - P-Touch B/W Direct Thermal Printer Instrukcja konfiguracji i obsługi
Installing the Software

2 Installing the Software for QL-580N

The printer names in the following screens may differ from your printer name.
The procedure for installing them varies depending on the OS of the computer.
Install procedure is subject to change without notice.
Do not connect the printer to the computer until directed to do so.
1. When using Microsoft
This section explains how to install P-touch Editor 5.0, P-touch Address Book 1.1, the
Printer Driver, and the User's Guide as a whole.
The following is the example for Windows Vista
1
Start the computer and put the CD-ROM into the CD-ROM drive.
If it does not start up automatically, open the files on the CD-ROM and double
click on "Setup.exe".
2
Click "Standard Installation".
Installation items:
1
Standard Installation
P-touch Editor 5.0,
P-touch Address Book 1.1,
Printer Driver, User's Guide (PDF),
and Network User's Guide (PDF)
2
Custom Installation
P-touch Editor 5.0,
P-touch Address Book 1.1,
Printer Driver, User's Guide (PDF), and Network User's Guide (PDF)
can all be installed separately.
3
Utility Installation
BRAdmin Light
4
User's Guide
User's Guide (PDF), Network User's Guide (PDF), and link to the download
page for Adobe
3
Read the licence agreement and click [Yes] if you agree with the
terms and conditions.
4
Follow the on-screen instructions.
®
Windows
®
®
®
Reader
.
®
.
1
2
3
4
17
STEP
1
STEP
2
STEP
3
STEP
4