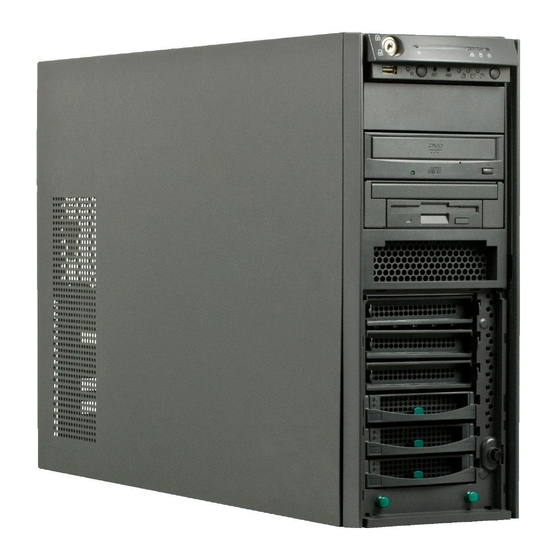
Fujitsu PRIMERGY TX300 S3 Dodatkowa instrukcja serwisowa - Strona 35
Przeglądaj online lub pobierz pdf Dodatkowa instrukcja serwisowa dla Serwer Fujitsu PRIMERGY TX300 S3. Fujitsu PRIMERGY TX300 S3 47 stron.

Replacement routines
1
5
8
Figure 15: Removing the screws
Ê Remove the nine screws from the system board.
Ê Lift the system board slightly using the socket of PCI slot 5, thereby you lift
the system board out of the centre rings of the spacer bolts.
Ê Carefully lift the system board out of the chassis in a slight angle. Thereby
you pull the connectors out of the connector panel.
Ê Check the settings on the new system board (for a description see the
Technical Manual of the system board).
Ê Take hold of the new system board on the fan connector (see the arrow in
figure
15) and on a PCI slot. Insert the system board by holding it at a slight
angle. Slide the connectors into the connector panel.
V
CAUTION!
Never take hold of the heat sinks!
Don't damage the EMI springs to comply with applicable EMC regula-
tions and satisfy cooling requirements and fire protection measures.
Ê Lower the system board carefully into the chassis.
TX300 S3
2
6
9
Service Supplement
Replacing the system board
3
7
4
35
