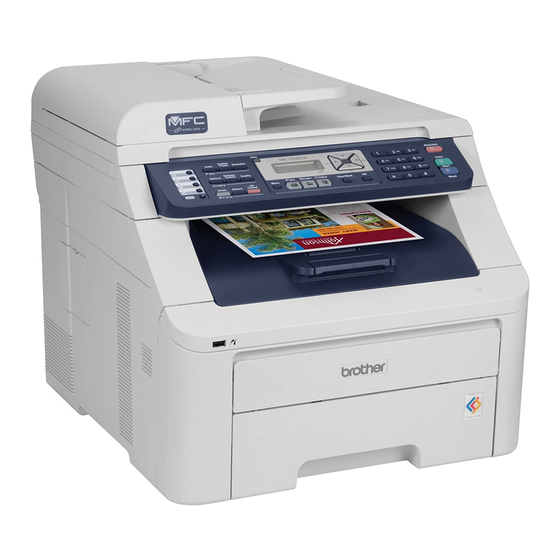
Brother MFC-9320CW Instrukcja połączenia - Strona 6
Przeglądaj online lub pobierz pdf Instrukcja połączenia dla Serwer druku Brother MFC-9320CW. Brother MFC-9320CW 6 stron. Vista network connection repair instructions
Również dla Brother MFC-9320CW: Specyfikacja techniczna (6 strony), Podręcznik szybkiej konfiguracji (47 strony), Podręcznik szybkiej konfiguracji (49 strony)

MFC9320CW Vista Network Connection Repair Instructions
Choose SPECIFY YOUR MACHINE BY ADDRESS (ADVANCED USERS), and enter the IP address
information appropriate to your network, then click NEXT. If you are not certain what
information to enter you should contact your network administrator.
13. If you do not want to monitor the machine's status and error notification from your computer,
uncheck ENABLE STATUS MONITOR. Otherwise, leave the box checked. Click NEXT.
14. The installation screens will appear one after another. Please wait. It will take a few moments
for all the screens to appear. DO NOT try to cancel any of the screens during this installation.
If asked: Would you like to install this device software? Click INSTALL.
15. When the On-Line Registration screen is displayed, make your selection and follow the on-
screen instructions. Once you have completed the registration, click NEXT to continue the
installation.
16. When prompted to restart the computer, select YES, I WANT TO RESTART MY COMPUTER
NOW, and click FINISH. The computer will restart.
Note: After restarting the computer you must be logged on with Administrator
rights.
17. Once the computer restarts, you will be prompted to select an option for firmware update
notification. Make your selection and click OK. NOTE: Internet service is required for any
firmware updates.
18. Attempt to print again to determine if the issue has been resolved. If you still cannot print,
try to setup the Brother machine on another computer on the network to determine if the
issue is specific to this computer. If so, contact the computer manufacturer for further
assistance.
ENTERING TEXT
The dial pad keys have letters printed on them. The keys: 0 (zero), # (pound) and * (asterisk) do not
have printed letters because they are used for special characters. Press the appropriate dial pad key
the required number of times to access the characters.
Inserting spaces: To enter a space in a number, press the RIGHT ARROW key once between
numbers. To enter a space in a name, press the RIGHT ARROW key twice between characters.
Making corrections: If you entered a letter incorrectly and want to change it, press the LEFT or
RIGHT ARROW key to move the cursor to the incorrect character, and then press Clear/Back.
Repeating letters: To enter a character on the same key as the previous character, press the
RIGHT ARROW key to move the cursor right before pressing the key again.
Special characters and symbols: Press 0 (zero), # (pound) or * (asterisk), then press the RIGHT
or LEFT ARROW key to move the cursor to the symbol or character you want. Press OK to choose
it. The symbols and characters that appear will be different depending on your menu selection.
6
© 1995 - 2010 Brother International Corporation
www.brother-usa.com
