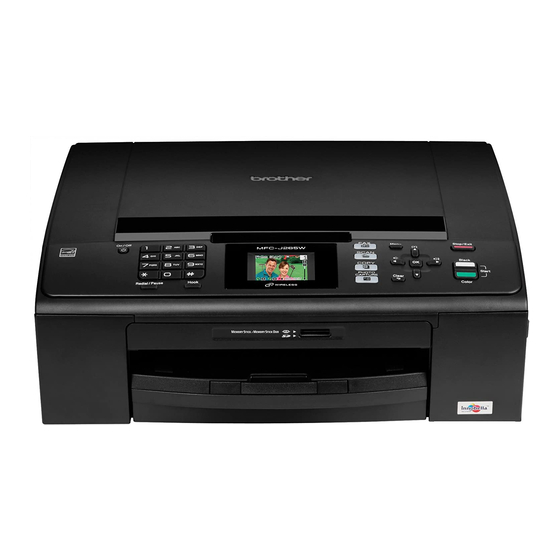
Brother MFC-J415W Instrukcja instalacji - Strona 22
Przeglądaj online lub pobierz pdf Instrukcja instalacji dla Serwer druku Brother MFC-J415W. Brother MFC-J415W 35 stron. Quick setup guide - spanish
Również dla Brother MFC-J415W: Specyfikacja techniczna (2 strony), Zaawansowana instrukcja obsługi (50 strony), Podręcznik szybkiej konfiguracji (33 strony), (Angielski) Skrócona instrukcja konfiguracji (35 strony)

For Wireless Network Users
Connecting the Brother machine to the wireless network
IMPORTANT
You must have the wireless settings you
wrote down for your network in step 18 on
page 21 before you proceed.
Configure the wireless
19
settings (typical Wireless
Setup in infrastructure
mode)
a
On your machine, press Menu.
Press a or b to choose Network and press
OK.
Press a or b to choose Setup Wizard and
press OK.
When Enable WLAN? is displayed, press OK
to accept.
This will start the wireless setup wizard.
To cancel, press Stop/Exit.
b
The machine will search for available SSIDs. If
a list of SSIDs is displayed, use the a or b keys
to choose the SSID you wrote down in step
18-a on page 21, then press OK. If you are
using an authentication and encryption method
that requires a Password (Network Key),
go to c.
If your authentication method is Open System
and your encryption mode is None, go to d.
Note
It will take several seconds to display a list of
available SSIDs.
If a list of SSIDs is not displayed, make sure your
access point is on. Move your machine closer to
the access point and try starting from a again.
If your access point is set to not broadcast the
SSID, you will have to manually add the SSID
name. For details, see the Network User's
Guide on the documentation CD-ROM.
22
c
Enter the Password (Network Key) you wrote
down in step 18-a on page 21 using the dial
pad to choose each letter or number.
For example, to enter the letter a, press the 2
key on the dial pad once. To enter the number
3, press the 3 key on the dial pad seven times.
The letters appear in this order: lower case,
upper case and then numbers.
You can use the d and c keys to move the
cursor left and right.
(For more information, see Entering Text for
Wireless Settings on page 33.)
Press OK when you have entered all the
characters, then press 1 for Yes to apply your
settings.
d
Your machine will now try to connect to your
wireless network using the information you
have entered.
It may take a few minutes to connect to your
wireless network.
e
A connection result message appears for
60 seconds on the LCD and a wireless LAN
report will automatically be printed. If the
connection failed, check the error code on the
printed report and refer to Troubleshooting
on page 24.
Wireless setup is now complete. A four
level indicator at the top of your
machine's LCD will show the wireless
signal strength of your access
point/router.
To install MFL-Pro Suite, continue to
step 20.
®
For Windows
Users:
Now go to
Page 26
For Macintosh Users:
Now go to
Page 30
