Brother DCP-8110DN Instrukcja obsługi dla sieci - Strona 11

Przeglądaj online lub pobierz pdf Instrukcja obsługi dla sieci dla Oprogramowanie Brother DCP-8110DN. Brother DCP-8110DN 29 stron. Printer
Również dla Brother DCP-8110DN: Podręcznik (36 strony), Zaawansowana instrukcja obsługi (50 strony), Podręcznik (27 strony), Podręcznik szybkiej konfiguracji (23 strony), Podręcznik użytkownika (23 strony), Podręcznik bezpieczeństwa produktu (23 strony), Zaawansowana instrukcja obsługi (39 strony), Podręcznik bezpieczeństwa produktu (22 strony)
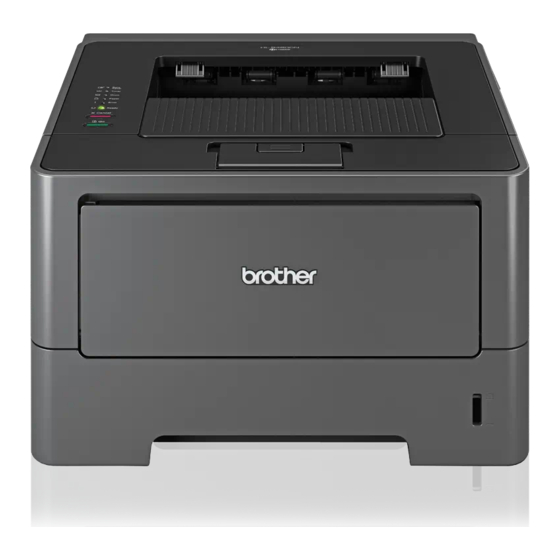
Brother DCP-8110DN Instrukcja obsługi dla sieci
3

Machine operation

After you configure Scan to Network settings, you can use the Scan to Network feature.
Scan to Network using Scan to Network Profiles for 5-line LCD
models
a
Load your document.
b
Press
(SCAN).
c
Press a or b to choose Scan to Network. Press OK.
(For DCP-8155DN, MFC-8520DN and MFC-8910DW) Go to step d.
(For DCP-8110DN, DCP-8150DN, MFC-8510DN and MFC-8710DW) Go to step e.
d
Press a or b to choose 1sided, 2sided (L)edge or 2sided (S)edge.
Press OK.
e
Press a or b to choose one of the profiles listed.
Press OK.
f
If you check Use PIN for Authentication in Scan to FTP/Network Profile of Web Based Management,
the LCD will prompts you to enter a PIN number. Enter the 4-digit PIN number and then press OK.
If the profile is complete, you will automatically go to step k.
If User Select was configured using Web Based Management, you will be prompted to choose the
scan quality, file type and file size from the control panel.
If the profile is not complete, for instance, the quality or file type are not chosen, you will be prompted
to enter any missing information in the following steps.
g
Choose one of the options below:
Press a or b to choose Color 100 dpi, Color 200 dpi, Color 300 dpi, Color 600 dpi,
Color Auto, Gray 100 dpi, Gray 200 dpi, Gray 300 dpi or Gray Auto. Press OK and go
to step h.
Press a or b to choose B&W 300 dpi, B&W 200 dpi or B&W 200x100 dpi. Press OK and go to
step i.
h
Press a or b to choose PDF, PDF/A, Secure PDF, Signed PDF, JPEG or XPS. Press OK and go to step
j.
3
3
3
8