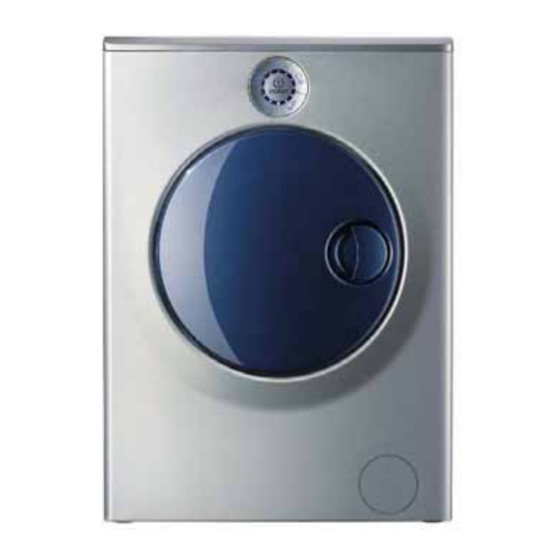
Indesit SIXL145SKUK Podręcznik informacji serwisowych - Strona 6
Przeglądaj online lub pobierz pdf Podręcznik informacji serwisowych dla Spryskiwacz Indesit SIXL145SKUK. Indesit SIXL145SKUK 28 stron. Moon washing machines

Indesit
Company
INSTALLATION
Unpacking
1. Unpack the washer.
2. Make sure that the machine has not been
damaged during transportation. If it has
been damaged, contact the retailer and do
not proceed any further with the installation
process.
3. Remove the 4 protective screws (used
during transportation) and the rubber
washer with the corresponding spacer,
located on the rear part of the appliance.
See Figure.
4. Close off the holes using the plastic plugs
provided.
5. Keep all the parts in a safe place as they will
be needed again if the washing machine is
moved to another location.
Packaging materials should not be used as
toys for children.
Levelling
The machine may make a considerable
amount of noise if the 2 front feet have not
been adjusted correctly.
1. Install the washing machine on a flat and
sturdy floor, without placing it against walls,
cabinets or other furniture.
Service Manual UK
2. If the floor is not
perfectly level,
compensate for any
unevenness by
tightening or loosening
the adjustable front feet
(see figure); the angle
of inclination, measured
in relation to the
worktop, must not exceed 2°.
Levelling the machine correctly will provide
it with stability, help to avoid any vibrations
and excessive noise and prevent it from
shifting while it is operating. If it is placed on
a carpet or a rug, adjust the feet in such a
way as to allow a sufficient ventilation space
underneath the machine.
Water Connections
1. Insert seal A into the end of
the inlet hose and screw the
latter onto a cold water tap
with a 3/4 gas threaded
opening. See Figure.
Before making the
connection, allow the water
to run freely until it is
perfectly clear.
2. Connect the other end of the inlet hose to
the machine by screwing it onto the cold
water inlet of the appliance, which is
situated on the top right hand side on the
rear of the appliance. See figure.
3. Make sure there are no kinks or bends in
the hose.
NOTE: - If the machine does not fill with
water the Door Locked indicator light flashes
rapidly.
6 of 28
A
English
