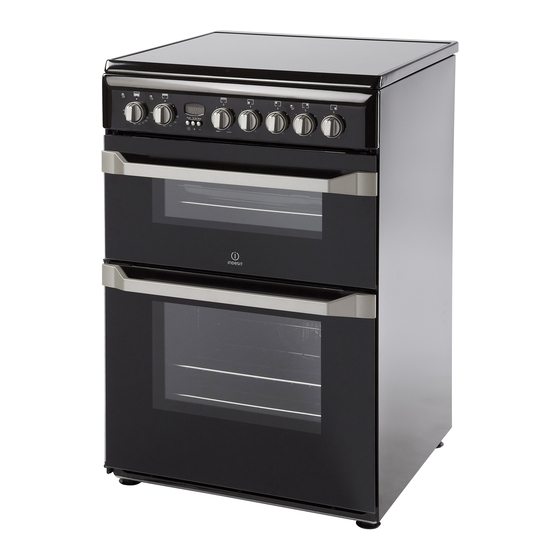
Indesit KD6C35 Instrukcja instalacji i użytkowania - Strona 24
Przeglądaj online lub pobierz pdf Instrukcja instalacji i użytkowania dla Kuchenki Indesit KD6C35. Indesit KD6C35 32 stron. Free standing electric cooker
Również dla Indesit KD6C35: Instrukcja obsługi (28 strony), Instrukcja obsługi (28 strony)
Care and Cleaning
Grill:
Remove the grill pan and the wire grid food support, it is best to wash these items immediately after
each use to prevent stains from being burnt on when used again.
Wipe out the Grill compartment, use a fine steel wool soap pad to remove stubborn stains from the
compartment.
Main oven:
1. Glass Door – open the oven door fully. The glass panel may now be cleaned.
Stubborn stains can be removed by using a fine steel wool soap pad. Do not use scouring pads,
or abrasive powder, which will scratch the glass. Ensure that the glass panel is not
subjected to any sharp mechanical blows.
For slight soiling the inner glass panel may be cleaned, while still warm. For removing stubborn
stains see page 25, cleaning.
2. Remove the rod shelves and meat pan.
Use a fine steel wool soap pad to remove stubborn stains from the rod shelves, meat pan and the
floor of the oven. Refer to the instructions on page 23 for cleaning the shelf supports.
Do not use aerosol cleaners on this oven as they could adversely affect the fan motor unit, and
cannot be wiped off the fan blade.
Replacement oven lamp:
WARNING: To avoid electric shocks - please ensure that the electricity supply to the appliance is
switched off and the appliance is fully cold, before removing the lamp lens.
Open the oven door and remove the rod shelves. Using a suitable cloth to protect the fingers grip
the light glass dome, unscrew anti-clockwise and lift. Reach into the aperture and unscrew the lamp
anti-clockwise. Fit replacement lamp (25W 300°C rated SES), refit dome.
Wall-mounted splash panel:
A wall-mounted splash panel is available as an optional extra from our Parts Department (see
Key Contacts, back page).
Care must be taken that rating label edges are not lifted during cleaning and furthermore that
the lettering is not blurred or removed.
For details of your nearest Service Centre please see the separate service leaflet. If you have any
queries regarding service or spares, our Parts and Service Division will be pleased to advise.
See Key Contacts, back page, for details.
24