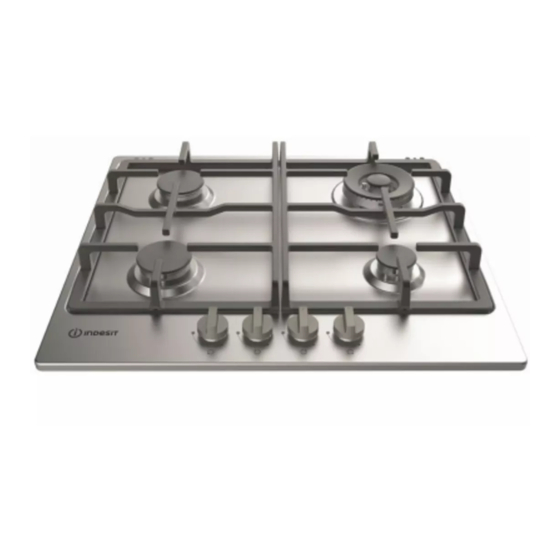
Indesit 641 THP W/IX/I Instrukcja obsługi - Strona 6
Przeglądaj online lub pobierz pdf Instrukcja obsługi dla Hob Indesit 641 THP W/IX/I. Indesit 641 THP W/IX/I 24 stron.
Również dla Indesit 641 THP W/IX/I: Instrukcja obsługi (24 strony)

Installation
GB
! Before operating your new appliance please read this instruction booklet
carefully. It contains important information for safe use, installation and care
of the appliance.
! Please keep these operating instructions for future reference. Pass them on
to possible new owners of the appliance.
! After unpacking the hob, make sure that it has not been damaged during
transport. In the event of problems, contact the dealer or your nearest After-
sales Service.
! Keep packaging material out of the reach of children . Disposed it according
to the rules for separate waste collection (see Precautions and tips).
! The appliance must be installed by a qualified professional according to the
instructions provided. Incorrect installation may cause harm to people and
animals or may damage property.
! The appliance must be disconnected from the power supply before carrying
out any installation work.
! These instructions are only valid for the countries whose symbols is given
on the data plate (under the hob).
• Before installation, make sure that:
- The local gas delivery conditions (nature and pressure) are
compatible with the settings of the hob (see the rating plate and
injector table).
- The outer surfaces of the furniture or appliances adjacent to the hob are
heat resistant according to local regulations.
- This appliance is not connected to a fume exhaust device. It shall be
installed in accordance with current installation regulations. Particular
attention shall be given to the relevant requirements regarding ventilation.
- Combustion products are discharged outdoors through specific hoods or
wall and/or window mounted electrical fans.
• Intensive and prolonged use of the appliance may necessitate
supplemental ventilation, e.g. opening a window or increasing the power
of the air intake system (if present).
Fitting the appliance
The following precautions must be taken when installing the hob:
NOTE: If the distance "A" between the wall cabinets is between 600 mm and
730 mm, the height "B" must be a minimum of 530 mm. If the distance "A"
between the wall cabinets is greater than the width of the hob, the height "B"
must be a minimum of 400 mm.
In case of installation of a hood above the hob, please refer to the hood
instructions fot the correct distance.
6
https://tm.by
Интернет-магазин TM.by
A
750mm
B
B
50mm
100mm
• This product can be embedded in a worktop 20 to 50 mm thick.
• If there is no oven beneath the hob, insert a separator panel that has a
surface at least equal to the opening in the work surface. This panel,
that has to close completely the cutout in order to avoid any contact
with the bottom part of the hob, must be positioned at a maximum
distance of 150 mm below the upper surface of the work surface
but, in no case less than 20 mm from the bottom of the hob. In the
case that you intend to install an oven beneath the hob, make sure
that it is manufactured by Whirlpool and equipped with a cooling
system. The manufacturer declines all liability if another brand oven
is installed beneath the hob.
• After having cleaned the perimeter surface, apply the supplied gasket to
the hob as shown in the figure.
Position the hob in the worktop opening made respecting the dimensions
indicated in the Instruction.
NOTE: the power supply cable must be long enough to permit its upward
extraction.
To secure the hob, use the brackets (A) provided with it. Fit the brackets into the
relevant bores shown by the arrow and fasten them by means of their screws
in accordance with the thickness of the worktop (see the following figures).
Top 20 mm
Electrical connection
! This operation must be performed by a qualified technician.
Hobs equipped with a three-pole power supply cable are designed to operate
with alternating current at the voltage and frequency indicated on the data
plate (this is located on the lower part of the appliance).
L
The earth wire in the cable has a green and
yellow cover. If the appliance is to be installed
Earth
above a built-in electric oven, the electrical
(yellow/green)
connection of the hob and the oven must be
N
carried out separately, both for electrical safety
purposes and to make extracting the oven easier.
Connecting the supply cable to the mains
Install a standardised plug corresponding to the load indicated on the data
plate.
The appliance must be directly connected to the mains using an omnipolar
circuit-breaker with a minimum contact opening of 3 mm installed between
the appliance and the mains.
The circuit-breaker must be suitable for the charge indicated and must comply
with current electrical regulations (the earthing wire must not be interrupted
by the circuit-breaker). The supply cable must not come into contact with
surfaces with temperatures higher than 50°C.
Top 30-50 mm
