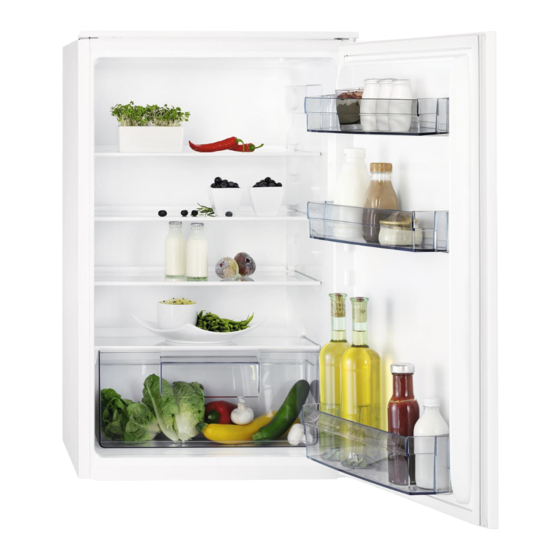
AEG ABE812E6NC Podręcznik użytkownika - Strona 8
Przeglądaj online lub pobierz pdf Podręcznik użytkownika dla Zamrażarka AEG ABE812E6NC. AEG ABE812E6NC 40 stron.
Również dla AEG ABE812E6NC: Instrukcja instalacji (12 strony)

8
www.aeg.com
Overall space required in use
D 3
1) the height, width and depth of the appliance
including the handle, plus the space necessary for
free circulation of the cooling air, plus the space
necessary to allow door opening to the minimum
angle permitting removal of all internal equip-
ment
3.2 Location
To ensure appliance's best functionality,
you should not install the appliance in
the nearby of the heat source (oven,
stoves, radiators, cookers or hobs) or in a
place with direct sunlight. Make sure that
air can circulate freely around the back of
the cabinet.
3.3 Positioning
This appliance should be installed in a
dry, well ventilated indoor position.
This appliance is intended to be used at
ambient temperature ranging from 10°C
to 43°C.
If you have any doubts
regarding where to install
the appliance, please turn to
the vendor, to our customer
service or to the nearest
Authorised Service Centre.
It must be possible to
disconnect the appliance
from the mains power
supply. The plug must
therefore be easily
accessible after installation.
3.4 Electrical connection
• Before plugging in, ensure that the
voltage and frequency shown on the
rating plate correspond to your
domestic power supply.
1)
mm
1085
• The appliance must be earthed. The
power supply cable plug is provided
with a contact for this purpose. If the
domestic power supply socket is not
earthed, connect the appliance to a
separate earth in compliance with
current regulations, consulting a
qualified electrician.
• The manufacturer declines all
responsibility if the above safety
precautions are not observed.
• This appliance complies with the
E.E.C. Directives.
3.5 Ventilation requirements
The airflow behind the appliance must
be sufficient.
min.
5 cm
200 cm
CAUTION!
Refer to the installation
instructions for the
installation.
3.6 Door reversibility
Please refer to the separate document
with instructions on installation and door
reversal.
CAUTION!
At every stage of reversing
the door protect the floor
from scratching with a
durable material.
2
min.
200 cm
2
