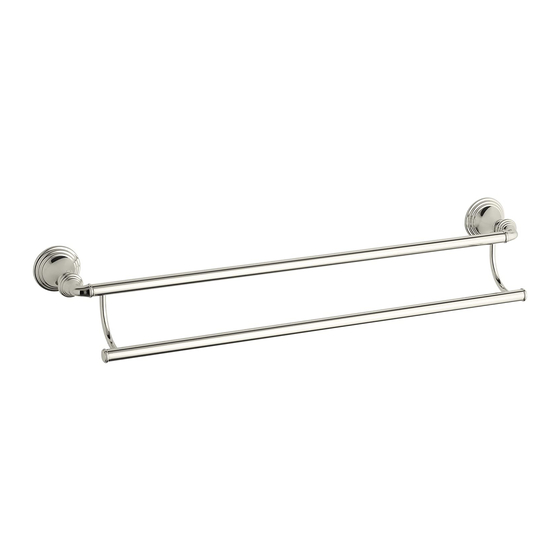
Kohler K-10555 Instrukcja instalacji i obsługi - Strona 3
Przeglądaj online lub pobierz pdf Instrukcja instalacji i obsługi dla Armatura łazienkowa Kohler K-10555. Kohler K-10555 16 stron. Accessories
Również dla Kohler K-10555: Instrukcja instalacji (36 strony)

Tools/Outils/Herramientas
Important Information
CAUTION: Risk of personal injury. Do not install these products in any area
where they are likely to be used inadvertently as a grab bar or support bar. These
products are not designed or intended for use as a grab bar or support bar.
These products should be located and mounted to a wall stud. While it is possible
to mount them to any surface, a stud mounted product will yield the best results.
Use a level to ensure that the center lines for the wall plates are vertical where
applicable and the post center lines are horizontal where applicable.
For proper installation, select a drill bit based on the type of finished wall
material. If the accessory will be attached to:
• ceramic tile, a 1/4" drill bit is required.
• drywall into a stud, a 1/8" drill bit is required.
• drywall between studs, a 5/16" drill bit is required.
When installing tissue holders, it is recommended that the tissue holder be located
8" (20.3 cm) to 12" (30.5 cm) above the toilet rim, and 6" (15.2 cm) in front of the
toilet bowl.
Observe all local plumbing codes and building codes.
Kohler Co. reserves the right to make revisions in the design of products without
notice, as specified in the Price Book.
Informations importantes
ATTENTION: Risque de blessures corporelles. Ne pas installer ces produits dans
tout endroit que ce soit où ils pourraient être utilisés par inadvertance à titre de
barre d'appui ou de soutien. Ces produits ne sont pas destinés ou conçus pour
servir de barre d'appui ou de support.
Ces produits devraient être localisés et fixés sur un montant du mur. Alors qu'il
est possible de les monter sur une surface quelconque, la fixation sur un montage
mural donnera de meilleurs résultats.
Utiliser un niveau à bulle pour s'assurer que les axes des plaques murales soient
verticaux et que les lignes centrales soient horizontales.
Pour une bonne installation, sélectionner une mèche basée sur le type de matériau
de mur fini. Si l'accessoire y sera attaché:
• carrelage en céramique, une mèche de 1/4" est requise.
• cloison sèche en montant, une mèche de 1/8" est requise.
• cloison sèche entre montants, une mèche de 5/16" est requise.
Kohler Co.
3
1087636-2-D
