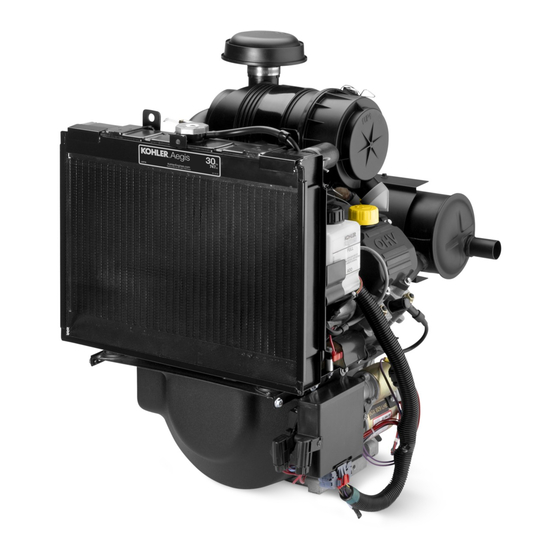
Kohler Aegis LH775 Instrukcja obsługi - Strona 12
Przeglądaj online lub pobierz pdf Instrukcja obsługi dla Silnik Kohler Aegis LH775. Kohler Aegis LH775 21 stron. Horizontal-shaft
Również dla Kohler Aegis LH775: Instrukcja obsługi (12 strony)

2. Reinstall and tighten the radiator cap.
3. Start and run the engine for five minutes, or until
it reaches operating temperature. Stop the engine
and allow it to cool.
4. Drain the cooling system (Refer to Draining
Cooling Systems).
5. Fill the cooling system (see Filling Cooling
System).
Filling Cooling System
1. Check the condition of cooling system hoses,
clamps, and associated components. Replace as
required.
2. Mix equal parts of ethylene glycol anti-freeze and
distilled or deionized water (see Coolant
Recommendations on page 5). For extremely cold
temperature applications or protection outside
the limits listed in the Coolant Recommendations
Section, refer to the anti-freeze manufacturers
instructions on the container, but do not exceed
70% anti-freeze.
3. Fill the radiator with the coolant mixture. Allow
coolant to drain into the lower areas. Fill the
overflow reservoir to a level between the ''FULL''
and ''ADD'' marks. See Figure 9. Reinstall the
radiator and reservoir caps.
4. Start and run the engine for five minutes. Stop
the engine and allow to cool.
5. Recheck the coolant level in the reservoir. Coolant
level should be between the ''FULL'' and ''ADD''
marks. Add coolant to reservoir if required. See
Figure 9.
Air Cleaner Element and Inner Element
Service
This engine is equipped with a heavy-duty high
density paper air cleaner element surrounding a
canister style inner element. Cleaning is not
recommended, each element should be replaced when
dirty. See Figure 14.
The air cleaner system should be inspected daily or
before starting the engine, for a buildup of dirt and
debris, or for any damaged or loose components. Keep
the system clean and properly secured. Replace any
damaged air cleaner comments. Do not operate the
engine without the complete air cleaner system
installed and properly secured.
12
Figure 14. Air Cleaner Element and Inner Element.
NOTE: Operating the engine with loose, damaged, or
missing air intake components can allow
unfiltered air into the engine, causing
premature wear and failure.
To Service
Every 250 hours of operation (more often under
extremely dusty or dirty conditions), replace the paper
element and check the inner element. Follow these
steps.
1. Unhook the two retaining clips and remove the
end cap from the air cleaner housing. See Figure 15.
Figure 15. Removing End Cap.
2. Pull the air cleaner element out of the housing.
See Figure 16.
Figure 16. Removing Air Cleaner Element.
Inner
Element
Air Cleaner
Element
