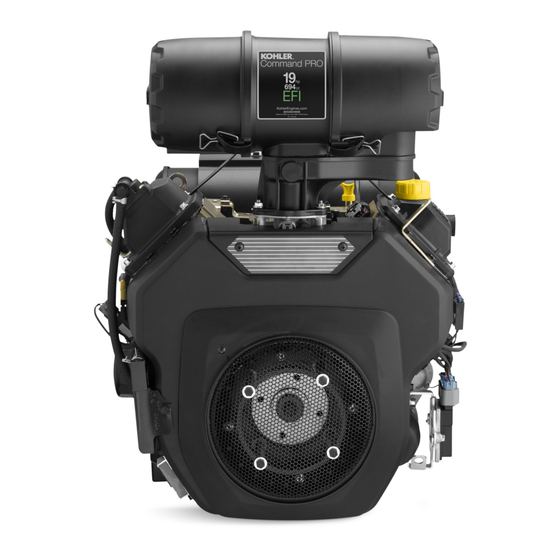
Kohler Command PRO ECH630 Instrukcja obsługi - Strona 10
Przeglądaj online lub pobierz pdf Instrukcja obsługi dla Silnik Kohler Command PRO ECH630. Kohler Command PRO ECH630 17 stron. Horizontal crankshaft
Również dla Kohler Command PRO ECH630: Instrukcja obsługi (8 strony)

Low-Profile Air Cleaner
8
See Figure
Every two months or every 25 hours of operation
wash or replace the precleaner (F). Wash precleaner
in warm water and detergent. Rinse the precleaner
thoroughly and squeeze out excess water (do not
wring). Allow precleaner to air dry.
Replace the air cleaner element (G) every 100 hours
or annually. Do not wash the air cleaner inner
element or use compressed air, this will damage the
elements. Replace dirty, bent or damaged elements
with new genuine Kohler elements as required.
Handle the new air cleaner elements carefully; do not
use if the sealing surfaces are bent or damaged.
1.
Loosen the cover retaining knob (A) and remove
cover (B).
2.
Remove and inspect the precleaner (F) wash or
replace as necessary.
3.
Clean area around the air cleaner element (G) to
prevent dirt and debris from entering the engine.
4.
Remove the element cover wing nut (C) and
element cover (D).
5.
Remove and inspect the air cleaner element (G)
replace as necessary.
6.
Check the condition of the rubber seal (E) on the
air cleaner stud (I). Replace if the seal is worn,
damaged, or questionable.
7.
Reinstall the components in reverse order of
removal.
Clean Air Intake/Cooling Areas
1
See Figure
To ensure proper cooling, make sure the fixed
guard (G), cooling fins, and other external surfaces of
the engine are kept clean at all times.
Every 100 hours of operation (more often under
extremely dusty, dirty conditions), remove the
blower housing and other cooling shrouds (L). Clean
the cooling fins and external surfaces as necessary.
Reinstall the blower housing and other cooling
shrouds.
NOTE:
Operating the engine with a blocked fixed
guard, dirty or plugged cooling fins, and/or
cooling shrouds removed, will cause engine
damage due to overheating.
Ignition
EFI Engines incorporate a computer-controlled
battery ignition system with individual coils. Other
than periodically checking/replacing the spark plugs,
no maintenance, timing, or adjustments are necessary
or possible with this system.
10
Spark Plug
1
9
See Figures
and
Every 200 hours of operation, remove the spark plugs,
check condition, and reset the gap or replace with
new plugs as necessary. The standard spark plug is a
Champion
RC12YC (Kohler Part No. 12 132 02-S). RFI
®
compliant engines use a Champion
Part No. 25 132 14-S) spark plug. A high-performance
spark plug, Champion
Platinum 3071 (used on Pro
®
Series engines, Kohler Part No. 25 132 12-S) is also
available. Equivalent alternate brand plugs can also be
used.
1.
Before removing the spark plugs (E), clean the
area around the base of the plug to keep dirt and
debris out of the engine. See Figure 1.
2.
Remove the plugs (E) and check its condition.
Replace the plugs if worn or reuse is
questionable. See Figure 1.
NOTE:
Do not clean the spark plug in using abrasive
grit. Some grit could remain in the spark plug
and enter the engine, causing extensive wear
and damage.
3.
Check the gap (D) using a wire feeler gauge (A).
Adjust the gap to 0.76 mm (0.030 in.) by carefully
bending the ground electrode (C). See Figure 9.
4.
Reinstall the spark plug (E) into the cylinder
head. Torque the spark plugs to 24.4-29.8 N·m
(18-22 ft. lb.). See Figure 1.
Battery Charging
Follow all the battery warnings and safety guidelines
and procedures provided by the battery manufacturer
and equipment manufacturer.
Jump Starting
Follow all safety guidelines and procedures provided
by the battery manufacturer and/or original
equipment manufacturer (OEM). Failure to follow
proper procedures may result in serious personal
injury and/or non-warrantable damage to the engine's
Electronic Fuel Injection (EFI) components.
Fuel System
1
See Figure
High Pressure Fluids can puncture
skin and cause severe injury or
death.
Do not work on fuel system
without proper training and safety
equipment.
XC12YC (Kohler
®
WARNING
