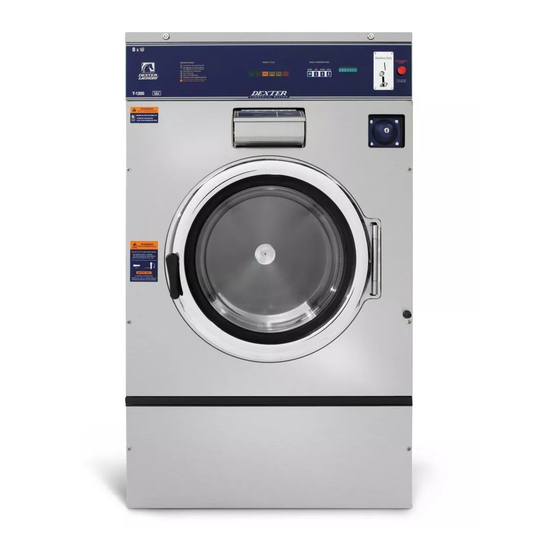
Dexter Laundry T1200 Instrukcja instalacji i obsługi - Strona 5
Przeglądaj online lub pobierz pdf Instrukcja instalacji i obsługi dla Spryskiwacz Dexter Laundry T1200. Dexter Laundry T1200 18 stron. 75lb capacity computer control opl washer
Również dla Dexter Laundry T1200: Instrukcja instalacji i obsługi (18 strony), Broszura właściciela (16 strony)

PLUMBING
Water supply hoses are furnished with each machine. The threaded connections on the hoses are ¾-
11 ½ NHT. The small 3/8 ID supply hoses and supplied brass shut off valves connect to the lower
hot and cold valves which flush the soap box. The brass shut off valves can connect to either the
store supply side or the machine inlet side. In case of water splash out due to high water pressure,
adjust brass shut off valves while machine is running until splash out stops. The larger 5/8 ID supply
hoses connect to the upper hot and cold valves.
Separate hot and cold water lines must be provided, maintaining 30 psi to 120 psi (207 kPa to 827
kPa) water flow pressure. A 140F (60C) degree hot water supply is recommended for best washing
results.
DRAIN
The drain outlet tube at the rear of the machine is 3 inches (76 mm) in diameter. Any drain hose
used must be lower than the drain valve to assure proper draining.
ELECTRICAL
SHUT OFF POWER AND WATER BEFORE OPENING ANY SERVICE PANELS.
Dexter single/three-phase 208-240VAC 60 Hz washing machines are intended to be permanently
installed appliances. No power cord is provided. The machine should be connected to an individual
branch circuit not shared by lighting or other equipment. The connection should be sheathed in
liquid tight flexible conduit, or equivalent, with conductors of the proper size and insulation. A
qualified technician should make such connections in accordance with the wiring diagram. (Suggest
a minimum wire size of 12 ga.)
TO MAKE ELECTRICAL CONNECTIONS: Disconnect all power to the washer. Remove screw
and lift out the cover located in the upper left corner of the machine (as viewed from the back).
If power is 208-240-3PH-60Hz, connect L1, L2, L3 and ground. If there is a high leg it must
be connected to L3.
If power is 208-240-1PH-60Hz, connect L1, L2 and Ground.
NOTE: It is important that the grounding screw next to the power terminal block TB-1 be
connected to a good external ground.
FUSING REQUIREMENTS:
SINGLE- and THREE -PHASE MODELS - 20 AMP TIME-DELAY (DUAL ELEMENT)
FUSE (or equivalent circuit breaker)
WARNING
