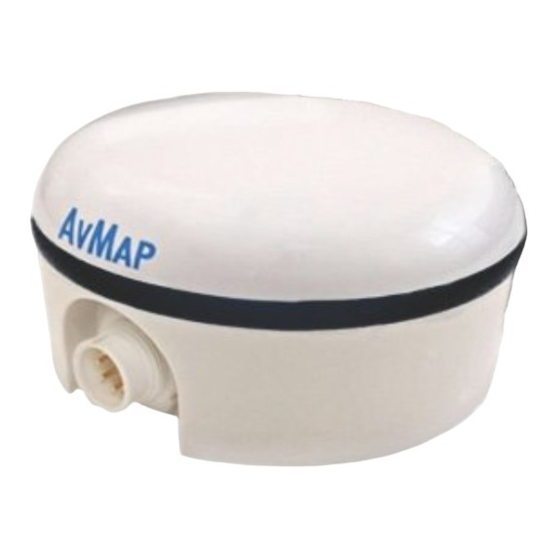
AvMap FarmNavigator Turtle Smart Instrukcja instalacji - Strona 2
Przeglądaj online lub pobierz pdf Instrukcja instalacji dla Odbiornik AvMap FarmNavigator Turtle Smart. AvMap FarmNavigator Turtle Smart 5 stron.
Również dla AvMap FarmNavigator Turtle Smart: Instrukcja instalacji (8 strony)

1. Technical specifications
• Dimensions: ᴓ 98 mm x H 50 mm
• Weight: 240 g without power cable
• Supply voltage: 10-35 Vdc
• Power consumption: 0.8 W or 1.5 W*
• Power cable: 4 m Conxall to DB9
• Built-in magnets for easy mounting
• Operating Temperature: -20 °C / +60 °C
• Storage Temperature: -30 °C / +80 °C
Turtle Smart
GPS
Glonass
Galileo
Beidou
SBAS
Multi-band
Update rate up to
Baud rate
RTK
Pass-to-pass accuracy
Terrain compensation
NTRIP client
Cellular modem
1 Year of Internet services included
Weeding
Manuring
Harrowing
Seeding
Plowing
Strip-till
Planting
1
3
Glonass and Beidou are not concurrent
Refer to page 6 for list of countries where Internet services are included
2
Only through G7 Plus Farmnavigator
2
• Waterproof: IP67
• RS232 baud rate: configurable
• RS232 protocol: NMEA0183 configurable
(GGA, GLL, RMC, GSA, GSV, VTG, ZDA,
GST)
*for All in One RTK
Turtle Pro2
Turtle RTK
All in One RTK
FEATURES
1
1
10Hz
10Hz
10Hz
9600
9600
115200
+/- 30cm
+/- 15cm
+/- 2cm
2
2
ACTIVITIES
ACTIVITIES
2. How to properly install the receiver on the tractor
In order to achieve the highest accuracy, the receiver must be installed following the instructions
below. This is requested for models embedding a fully inertial platform able to provide accurate
dynamic vehicle information and precise terrain compensation (Turtle Pro2, Turtle RTK, All in One
RTK). In case of special applications and installation on implements, follow the instructions in the
dedicated manual.
10Hz
115200
+/- 2cm
3
** Provided along with Turtle Pro2, Turtle RTK, All in One RTK
1. On the roof of the tractor, horizontally, using the Steady Steel Bracket**
to avoid vibrations
2. In the center of the cabin.
3. The connector for power cable must be oriented opposite
to the driving direction.
3
