AQUA FORTE MWWZ310M-35L-1400WB Podręcznik - Strona 5
Przeglądaj online lub pobierz pdf Podręcznik dla Odkurzacz AQUA FORTE MWWZ310M-35L-1400WB. AQUA FORTE MWWZ310M-35L-1400WB 18 stron. 3 in 1 wet, dry & pond cleaning vacuum cleaner

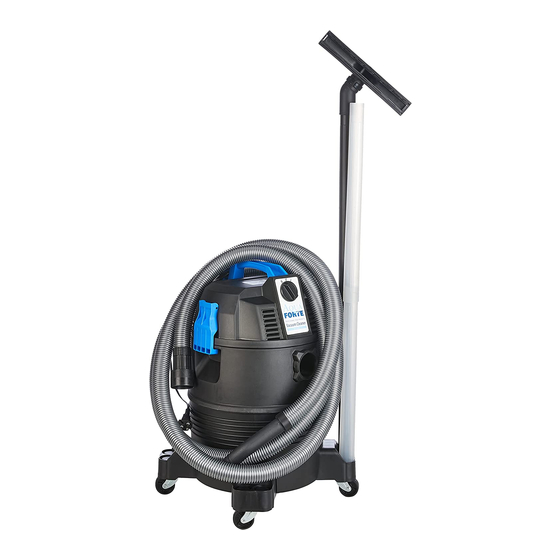
• Push the plug-in connector on the suction hose (9) into the connection hole (7) on the top of the collection tank and lock the connection by a half turn
to the right.
• Connect the required number of suction tube extensions (10) to the suction hose (9) and attach the suction nozzle (12) to the end of the suction tube
extensions (10).
• Once the above has been completed, plug the device into the RCD. Place the lance into the part of the pond to be cleaned. To start the motor, push the
switch (2) to position II AUTOMATIC.
• After a working interval of approximately 30 seconds, the motor switches off for approximately 30 seconds in order for the water to drain out of the
collection tank (8). During this time, you can reposition your lance in a different part of the pond which requires cleaning.
• The device will operate on this cycle until switched to the OFF position (0). Always remove the plug from the RCD when the device is not in use.
• Dirt and water should be thoroughly removed from the collection tank (8) at the end of each use.
5. Indoor Wet & Dry Cleaning
Please proceed as follows when using the device for indoor wet and dry cleaning:
• Screw the drain hole cap (5) securely to the base of the collection tank over the water discharge hole (8).This will create a vacuum inside the collection tank.
• For wet vacuuming, open the two locking clips (6) on the side of the collection tank (8) and remove the motor head (1). Fit the filter sponge (13) over the
motor head (1). Tighten the cord around the motor head. Place the motor head back onto the collection tank, ensuring the locking clips are relocated
back into the corresponding indents on the collection tank, with the electrical cable positioned on the opposite side to the suction hose plug-in
connector hole (7).
• For dry vacuuming, open the two locking clips (6) on the side of the collection tank (8) and remove the motor head (1). Attach the paper bag (16) to
the inside of the collection chamber over the hose plug-in connector hole ensuring that the rubber seal on the paper bag fits over the indent on the
plug-in connector hole. Place the motor head back onto the collection tank, ensuring the locking clips are relocated back into the corresponding
indents on the collection tank, with the electrical cable positioned on the opposite side to the suction hose plug-in connector hole (7).
• Once the above has been completed, plug the device into the RCD. To turn on, push the switch (2) to I MANUAL. In this position, the device operates
continuously.
• Switch off the device after use by pushing the switch to the OFF position (0).
6. Maintenance and cleaning
Important!
Always ensure that the device is unplugged from the RCD before attempting any maintenance or cleaning.
• The vacuum cleaner requires little maintenance other than cleaning.
• Thoroughly clean the collection tank (8) and dirt collecting bag (4) with water and mild household detergent.
• Check suction hose (9), suction tube extensions (10) and drain hose (3) occasionally for possible blocking or dirt residues and clean when necessary.
• Carefully wash the filter sponge for the motor (13) with water and mild household detergent. Dry for storage.
• When storing, ensure all parts are completely dry and store in a dry, frost free area which is inaccessible to children.
7. Guarantee
The product is guaranteed for 1 year from the date of purchase on materials and manufacturing defects. Every effort has been made during the
manufacturing process to ensure the vacuum cleaner meets the rigid quality standards. However, should you need to make a claim under this Guarantee,
please return the product to the place of purchase with the original receipt as proof of purchase. Claims brought about by incorrect installation or
operation, inadequate maintenance, the effects of frost, inexpert attempts at repair, the use of force, wrongful acts by a third-party, overloading and
foreign objects, as well as all damage to parts resulting from wear and tear, are not covered by this guarantee. By virtue of the Product Liability Act, we are
not liable for damage caused by our equipment, if this is the result of an inexpert repair.
8. Correct Disposal of this product
This marking indicates that this product should not be disposed with other household wastes throughout the EU. To prevent possible harm to the
environment or human health from uncontrolled waste disposal, recycle it responsibly to promote the sustainable reuse of material resources. To return
your used device, please use the return and collection systems or contact the retailer where the product was purchased. They can take this product for
environmental safe recycling.
3 IN 1 WET, DRY & POND CLEANING VACUUM CLEANER • 6
