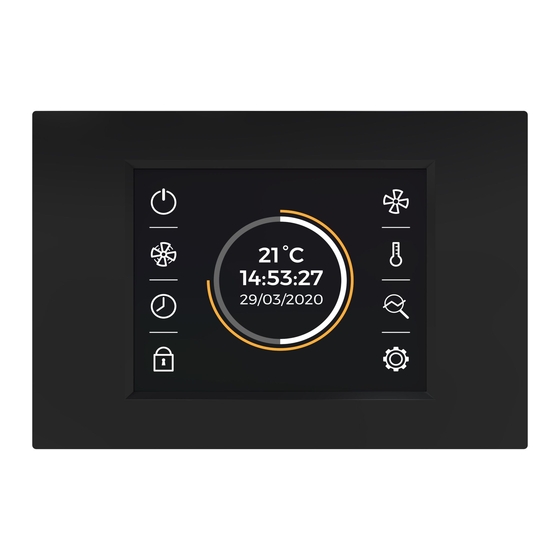
2VV AirGENIO Instrukcja montażu, instalacji i obsługi - Strona 7
Przeglądaj online lub pobierz pdf Instrukcja montażu, instalacji i obsługi dla Systemy kontroli 2VV AirGENIO. 2VV AirGENIO 11 stron. Finesse ec/standesse ec superior controls
Również dla 2VV AirGENIO: Instrukcja instalacji, obsługi i konserwacji (20 strony)

INPUTS AND OUTPUTS
Inputs:
RT - Room thermostat
NOTE: Not used for ambient version of controller
•
Input is set to connect an external, potential-free contact of room thermostat to switching on / off heating outputs H1 and H2
according state of room thermostat
•
Controller responds to the connected/disconnected contact on the input (switching on / off heating), fan continues to run normally
•
Default connection: connected contact (electrical bridge)
•
Connected contact = Heating outputs H1 or H1and H2 is ON if heating is set to be used
•
Disconnected contact = Heating outputs H1, H2 is OFF, even if heating is set to be used
DOOR – Door contact (room thermostat, external switch)
•
Input is set to connect an external, potential-free door contact or room thermostat or external switch, to switch ON/OFF fan output
and heating outputs.
•
Controller responds to the connected/disconnected contact on the DOOR input, switching on / off whole controlled product. After
OFF command is received the 5 seconds overrunning time is applied and then controlled product is set to OFF mode.
•
Default connection: disconnected contact (without electrical bridge)
•
Connected contact = product is switched to OFF (overrunning time is applied)
•
Disconnected contact = controlled product runs on preset fan speed value and heating output
Outputs:
HEAT 1 – H1 (potential free output on board connected with terminal COM - Relay)
NOTE: Not used for ambient version of controller
•
Controlled heating equipment of the controlled product is connected to terminal H1 - e.g.: 1st stage of heating by contactor
•
Terminal COM is designated as input for control signal of the heating. Maximum load of relay contact is 230V/5A (Control signal
for heat can be used according installation needs e.g. 24VAC, 24VDC, 230VAC, depend on ON/OFF actuator selection)
•
Connection output H1 is handled as 1st heating stage (contactor control signal or three-way valve opening phase)
•
H1 output is switching power led to terminal COM
Functionality:
•
HEAT 1 (H1) output is active only when control voltage to the ec fan speed output overcorss value 1,7V at last. (WARNING: Be
sure that controlled EC fan in the product is able to start before 1,7V control signal, to avoid start heating earlier then fan starts!!!)
•
HEAT 1 (H1) output is active when starting 1st stage of heating as well as at start of 2nd heating stage HEAT 2 (H2) = HEAT
outputs are switched in cascade
•
HEAT 1 (H1) output is inactive in case room thermostat contact connected to ROOM THERMOSTAT (RT) input is disconnected.
HEAT2 – H2 (potential free output on board connected with terminal COM - Relay)
NOTE: Not used for ambient version of controller
•
Controlled heating equipment of the controlled product is connected to terminal H2 - e.g.: 2nd stage of heating by contactor
•
Terminal COM is designated as input for control signal of the heating. Maximum load of relay contact is 230V/5A (Control signal
for heat can be used according installation needs e.g. 24VAC, 24VDC, 230VAC, depend on ON/OFF actuator selection)
•
Connection output H2 is handled as 2nd heating stage (contactor control signal or three-way valve opening phase)
•
H2 output is switching power led to terminal COM
Functionality:
•
HEAT 2 (H2) output is active only when control voltage to the EC fan speed control output overcross 5V.
•
HEAT 2 (H2) output is active when 2nd heating stage is selected and fan control signal value overcross the limit for 2nd heating
stage enable. Then HEAT 2 (H2) output is activated. HEAT outputs are switched in cascade, it means that H1 output is active
when H2 is active.
•
HEAT 2 (H2) output is inactive in case room thermostat contact connected to ROOM THERMOSTAT (RT) input is disconnected.
0-10V/GND FAN speed output: Terminals: 0-10V, GND (Analog EC Fan Control Output)
•
Output designed for stepless of EC fans control in range 0-10V signal. Maximum starting voltage signal for EC fan must be lower
or equal to 1,7V, because 1,7V is the value when Heat 1 output is activated.
•
Heat 2 output is activated when fan speed control signal overcross 5V.
•
The maximum number of EC fans connected to this output is 10.
WARINING: Be sure that controlled EC fan in the product is able to start before 1,7V control signal, to avoid start heating
earlier then fan starts!!!
WARINING: Length and execution of fan speed control signal cabling has influence of voltage drop of the signal 0-10V!
Measure voltage of the control signal, on fan speed control input on the controlled fan to be sure that fan starts before
heating outputs are activated.
8
2VV. Creating innovative solutions for you and your business since 1995.
