Aqua Medic Ocean Light LED Instrukcja obsługi - Strona 7
Przeglądaj online lub pobierz pdf Instrukcja obsługi dla Jednostka sterująca Aqua Medic Ocean Light LED. Aqua Medic Ocean Light LED 8 stron.
Również dla Aqua Medic Ocean Light LED: Instrukcja obsługi (19 strony)

Stainless steel wire:
The stainless steel wire (4) is now fed through the retaining bush (2) of the ceiling plate (1) so that
the ferrule (3) is retained inside the ceiling plate. The retaining bush is screwed onto the ceiling
plate allowing the stainless steel wire to hang free.
Lamp mounting:
The protective plugs in the back of the Ocean Light are removed and the luminaire attachments
(5) are screwed in, ensuring that the plastic washer (8) is placed between Ocean Light and
luminaire attachment. The end of the stainless steel wire (7) is fed through the luminaire
attachment from top, via non-return cap (6). It is drawn through the side opening and the
luminaire is adjusted to the correct height from the aquarium (minimum 30 cm above water level).
Release the mounting:
To remove the luminaire or re-adjust the height, the non-return mechanism is released by pushing
down the top cap (6) of the luminaire attachment. CAUTION: Ensure the luminaire is adequately
supported. The stainless steel wire can now be removed from the luminaire attachments.
When the luminaire is mounted in correct position, any surplus wire may be cut off with pliers.
Pay attention to the required minimum
distance of 30 cm to the water surface!
Electric connection:
The Ocean Light can be connected to any
safety socket or timer if automatic operation
is desired. Lighting systems including
moonlight can be operated either with two
timers or the AB Aqua Medic Light
Computer.
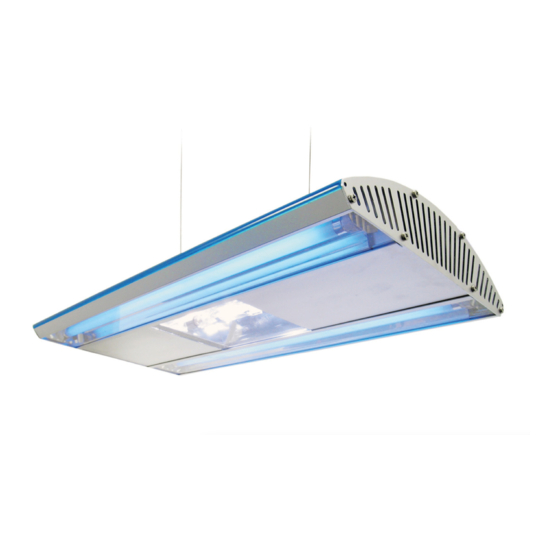
Fig. 1: Stainless steel wire suspension
1. Ceiling plate
2. Retaining bush
3. Ferrule
4. Stainless steel wire
5. Luminaire attachment
6. Non-return cap
7. End of wire
8. Plastic washer
Caution: If the mains plug of a lighting is pulled out during operation, note that high voltages
remain at the contact pins for a longer time.
Avoid touching them!
1
3
2
4
6
5
7
8
a q
u a
s t a
r l i
g h
t
7
