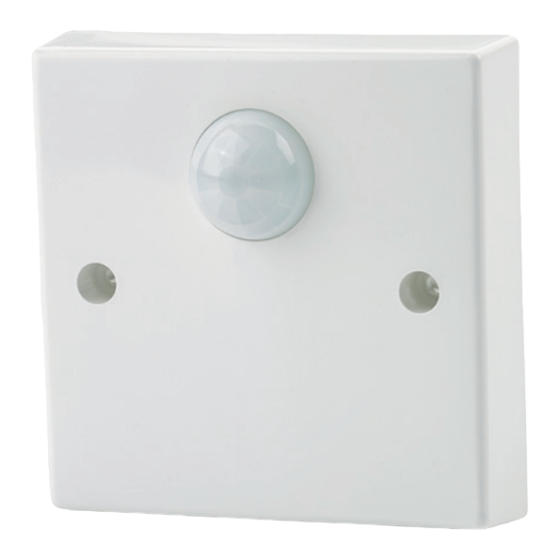
CP Electronics SPIR-F Instrukcja instalacji - Strona 8
Przeglądaj online lub pobierz pdf Instrukcja instalacji dla Akcesoria CP Electronics SPIR-F. CP Electronics SPIR-F 12 stron.

8
Setting final time settings | Festlegen der endgültigen Zeiteinstellungen | Establecer los ajustes finales de tiempo |
Configuração das definições de temporização final | Régler les paramètres finaux de temps | Configurazione delle
impostazioni di tempo finali | Definitieve tijdsinstellingen | Установка окончательных настроек времени
EN
Select the time out range using the switch 1 (according
to the chart in section 4). Set the time out period using the
thumbwheel, fully clockwise is the maximum (either 1/2 hour or 1
hour depending on the range).
If required, select the power up delay (to prevent the load coming
on immediately on power up).
Screw the unit back onto the wall and switch the mains supply on
at the distribution board.
DE
Wählen Sie den Abschalt-Zeitbereich mit Schalter 1
aus (siehe Tabelle in Abschnitt 4). Stellen Sie die Abschalt-
Zeitspanne mit dem Drehregler ein. Drehen bis zum Anschlag im
Uhrzeigersinn bedeutet Maximalwert (je nach Bereich entweder
1/2 Stunde oder 1 Stunde).
Wählen Sie bei Bedarf die Einschaltverzögerung (um zu
verhindern, dass die Last sofort beim Einschalten zugeschaltet
wird).
Schrauben Sie das Gerät wieder an die Wand und schalten Sie die
Stromversorgung am Verteilerkasten ein.
ES
Seleccione el intervalo de desconexión usando el
interruptor 1 (según el gráfico de la sección 4). Ajuste el periodo de
desconexión usando la rueda selectora, girándola completamente
en sentido contrario a las agujas del reloj (1/2 hora o 1 hora
dependiendo del intervalo).
Si es necesario, seleccione el retraso de encendido (para evitar que
la carga se encienda inmediatamente tras el encendido).
Atornille la unidad a la pared y encienda el suministro eléctrico
principal en el tablero de distribución.
PT
Selecione o âmbito do intervalo utilizando o interruptor
1 (de acordo com a tabela da secção 4). Configure o período de
intervalo utilizando o seletor rotativo, sendo que o valor máximo é
girá-lo totalmente na direção dos ponteiros do relógio (quer seja,
1/2 hora ou 1 hora, dependendo do âmbito).
Se for necessário, selecione o atraso do arranque (para evitar que a
carga seja acionada imediatamente após o arranque).
Volte a aparafusar a unidade à parede e ligue a corrente no quadro
de distribuição.
FR
Sélectionnez la plage de temporisation à l'aide de
l'interrupteur 1 (conformément au tableau de la section 4). Réglez
la période de temporisation à l'aide de la molette : lorsqu'elle est
complètement tournée dans le sens horaire, il s'agit du maximum
(soit 1/2 heure ou 1 heure selon la plage).
Si nécessaire, sélectionnez le délai de démarrage (pour éviter que
la charge ne vienne immédiatement à l'allumage).
Revissez l'unité au mur et mettez en marche l'alimentation secteur
sur le tableau électrique.
IT
Selezionare l'intervallo di timeout utilizzando l'interruttore
1 (in base al grafico nella sezione 4). Impostare il periodo di timeout
utilizzando la rotella. Una rotazione completa in senso orario è
l'impostazione massima (mezz'ora o un'ora in base all'intervallo).
Se necessario, selezionare il ritardo all'avvio (per prevenire
l'attivazione immediata del carico all'accensione).
Riavvitare l'unità sulla parete e attivare l'alimentazione di rete
presso il quadro di distribuzione.
NL
Selecteer het time-outbereik met schakelaar 1 (volgens de
tabel in onderdeel 4). Stel de time-outperiode met het menuwieltje
in, volledig naar rechts is het maximum (een 1/2 uur of 1 uur
afhankelijk van het bereik).
Selecteer indien nodig de opstartvertraging (om te voorkomen dat
de belasting onmiddellijk bij het opstarten gebeurt).
Schroef het apparaat weer aan de wand en schakel de
stroomtoevoer in op de verdeelkast.
RU
Выберите диапазон времени задержки с помощью
переключателя 1 (в соответствии с таблицей в разделе
4). Установите время задержки с помощью дискового
переключателя, максимум по часовой стрелке - максимум
(1/2 часа или 1 час в зависимости от диапазона).
При необходимости выберите задержку включения (чтобы
предотвратить немедленное включение нагрузки при
включении).
Прикрутите устройство обратно к стене и включите питание
от распределительного щита.
