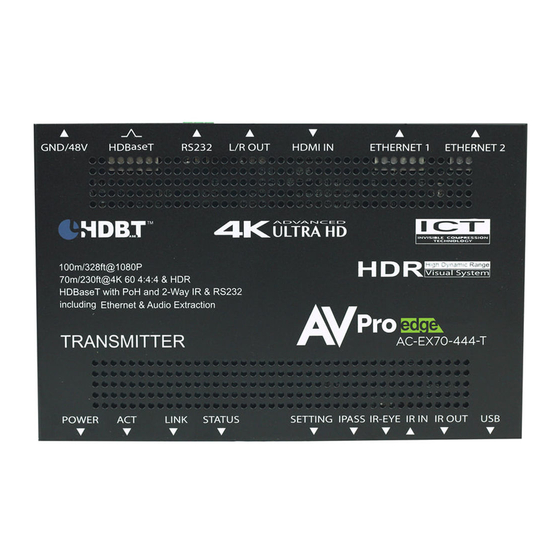
AVPro Edge AC-EX40-444-KIT Skrócona instrukcja obsługi - Strona 5
Przeglądaj online lub pobierz pdf Skrócona instrukcja obsługi dla Przedłużacz AVPro Edge AC-EX40-444-KIT. AVPro Edge AC-EX40-444-KIT 8 stron.

Audio Extraction:
This feature will allow you to extract 2ch audio from the source in order to send audio signals to an amplifier or AVR.
*NOTE - This feature only works if the audio from the source is set to 2ch PCM. If downmixing is needed, check out the
AVPro AC-ADM-AUHD or the AC-ADM-COTO
You can make a cable, or a premade cable can be purchased separately
(AC-CABLE-3PIN-2CH). Follow the diagram below if you are making your
own cable.
1.
Plug the 3 pin connector into either the Tx or Rx (the audio
port on both the Tx and the Rx are always active). The port is
labeled "L/R OUT PCM Only".
2.
Plug the L/R stereo cables into the audio input of an amplifler
or AVR.
3.
Set the audio output of the source to 2CH PCM
*NOTE - The AC-EX100-444-KIT supports audio extraction, but uses a Toslink cable instead of a L/R analog stereo cable
Ethernet (AC-EX70-444-KIT & AC-EX100-444-KIT only):
The AC-EX70-444-KIT and AC-EX100-444-KIT adds Ethernet passthrough. This will allow you to hardwire a device or
devices to the network. Hardwiring typically improves reliability and speed, especially when streaming high bandwidth
content.
This feature is plug and play. The Ethernet ports are always active as long as one of four ports is connected to the
network (the Tx or Rx will act as an Ethernet hub).
Follow the diagram below for a an example of how to connect the Tx or Rx to the network:
