AVS Bugflector Instrukcja instalacji - Strona 2

Przeglądaj online lub pobierz pdf Instrukcja instalacji dla Akcesoria samochodowe AVS Bugflector. AVS Bugflector 10 stron. Hood shield
Również dla AVS Bugflector: Instrukcja instalacji (7 strony), Instrukcja instalacji (7 strony), Instrukcje instalacji (2 strony), Instrukcja instalacji (7 strony), Instrukcja instalacji (7 strony), Instrukcja instalacji (6 strony), Instrukcja instalacji (6 strony), Instrukcja instalacji (6 strony), Instrukcja instalacji (10 strony), Instrukcja instalacji (6 strony), Instrukcja instalacji (9 strony), Instrukcja instalacji (6 strony), Instrukcja instalacji (6 strony), Instrukcja instalacji (10 strony), Instrukcja instalacji (10 strony), Instrukcja instalacji (10 strony), Instrukcja instalacji (6 strony), Instrukcja instalacji (10 strony), Instrukcja instalacji (6 strony), Instrukcja instalacji (10 strony), Instrukcja instalacji (6 strony), Instrukcja instalacji (6 strony), Instrukcja instalacji (6 strony)
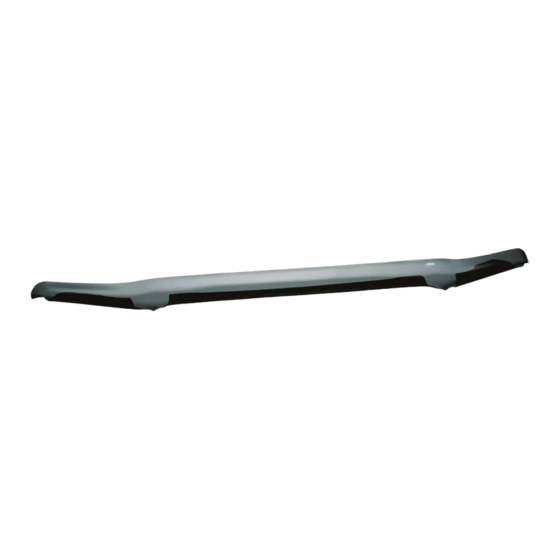
AVS Bugflector Instrukcja instalacji

Installation Steps

Locate the hex screw studs along the underside that
attaches the top of the grill to the hood. Loosen, but do
not totally remove the screws.
3
Silde the hood shield between the hood and grill
and center. Replace and retighten previously
loosened hex screws.
5
Place (1) bump-on on the leading edge of the
fender above headlight 9.5" from edge of grill.
Headlight
7
Tab should be positioned snugly behind headlight
assembly.
9
NOTE: Actual application may vary slightly from illustrations.
9.5" (24 cm)
Page 2 of 3
Lower the hood, and pivot the grill forward to create
a 1/8" (.32 cm) gap between hood and grill.
4
Fender Protector
Installation
6
Slide the headlight tab behind the main headlight
assembly.
Headlight tab
8
It is necessary to expose the sheet metal flange of
the hood by releasing the rubber seal nearest the
grill. Discard the (2) plastic fasteners.
10
Remove side marker light by removing
the (1) screw directly underneath the
light and sliding light forward..