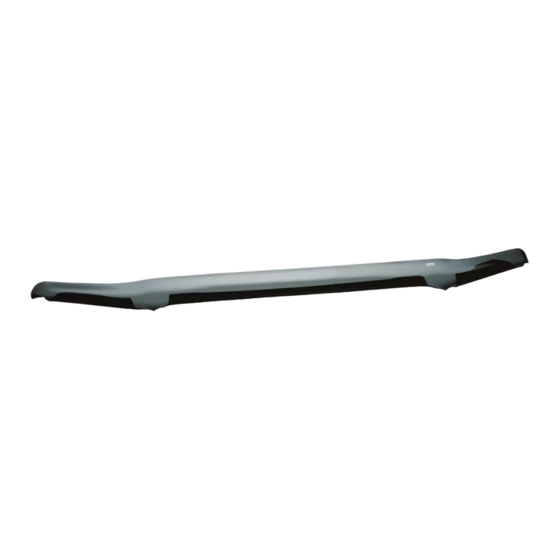
AVS Bugflector II Instrukcja instalacji - Strona 2
Przeglądaj online lub pobierz pdf Instrukcja instalacji dla Akcesoria samochodowe AVS Bugflector II. AVS Bugflector II 10 stron. Hood shield
Również dla AVS Bugflector II: Instrukcja instalacji (7 strony), Instrukcja instalacji (7 strony), Instrukcje instalacji (2 strony), Instrukcja instalacji (7 strony), Instrukcja instalacji (7 strony), Instrukcja instalacji (6 strony), Instrukcja instalacji (10 strony), Instrukcja instalacji (6 strony), Instrukcja instalacji (6 strony), Instrukcja instalacji (10 strony), Instrukcja instalacji (6 strony), Instrukcja instalacji (9 strony), Instrukcja instalacji (6 strony), Instrukcja instalacji (6 strony), Instrukcja instalacji (10 strony), Instrukcja instalacji (10 strony), Instrukcja instalacji (10 strony), Instrukcja instalacji (6 strony), Instrukcja instalacji (6 strony), Instrukcja instalacji (10 strony), Instrukcja instalacji (6 strony), Instrukcja instalacji (6 strony), Instrukcja instalacji (6 strony)

