AVS RM43B Instrukcja obsługi - Strona 2
Przeglądaj online lub pobierz pdf Instrukcja obsługi dla Akcesoria samochodowe AVS RM43B. AVS RM43B 2 stron. Oem replacement mirror monitor

INTRODUCTION
Thank you for choosing this product from the AVS Safety Range.
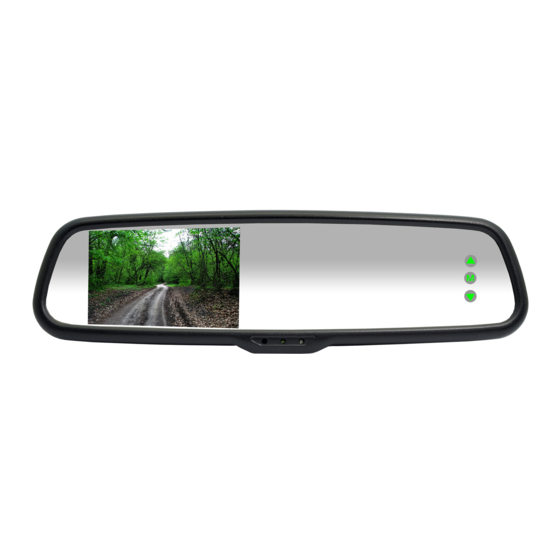
The AVS RM43B OEM rear view mirror monitor is designed to replace
your factory mirror, adding reversing safety and convenience while
retaining the original mirror style.
The mirror monitor's super bright 4.3" screen with in-built ambient light
sensor and high reflectivity allows the LCD screen to show a clear and
bright image whether it be a bright day or dark night.
The mirror will automatically show the reversing camera image when
reverse gear is engaged. Otherwise the reversing screen disappears and
the unit looks and performs like a factory mirror.
With dual video inputs the monitor can be connected to a camera and
other video source such as an in-car DVD player.
PRODUCT SPECIFICATIONS
Panel:
TFT LCD (digital)
Screen size:
4.3"
Resolution:
480x272
Aspect ratio: 16:9
Power:
3.6W working
Video input:
AV1 - DVD etc
LCD BRIGHTNESS AUTO ADJUSTMENT
In strong sunlight the LCD will
automatically brighten.
Power supply:
DC12V
Brightness:
1500cd/m2
OSD menu:
Yes
Signal system:
PAL/AUTO/NTSC
Consumption:
0.5W standby
AV2 - camera
2-way
At night or in low light the LCD will
automatically dim.
The LCD brightness will automatically adjust itself gradually along with
ambient light change to ensure the image is clearly visible.
OPERATING INSTRUCTIONS
If there is a signal from V1 or V2, the monitor will turn on automatically
and display the image. If there is no signal the screen will turn off.
Press M to enter the menu and then repeat to scroll through the menu
items to the one you want to change (such as brightness or contrast or
parking lines on/off ). Press
We recommend feature adjustments are carried out by your AVS
installer.
PARKING LINE PATTERN SELECTION
Press M to enter the menu and repeat to find Parking line type. Press
or
to select the most suitable parking line pattern for the car size
and camera angle.
Note: Parking line ON/OFF must also be turned ON.
PARKING LINE ADJUSTMENT
Press M and repeat to find the Parking line X feature then press
to adjust the parking lines horizontally from 0-40 (default is 20).
Press M and repeat to find the Parking line Y feature then press
to adjust the parking lines vertically from 0-40 (default is 40).
Note: Parking line ON/OFF must also be turned ON.
or
to adjust the feature.
or
or
