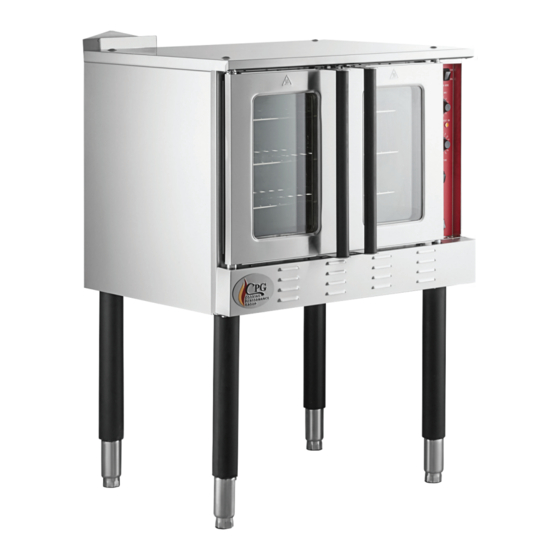
CPG 351FGC100DD Instrukcja serwisowa - Strona 11
Przeglądaj online lub pobierz pdf Instrukcja serwisowa dla Piekarnik konwekcyjny CPG 351FGC100DD. CPG 351FGC100DD 18 stron. Gas powered convection ovens
Również dla CPG 351FGC100DD: Podręcznik użytkownika (12 strony)

Service Manual
351FGC100(L/N) | 351FGC200(L/N)K
351FGC100DD(L/N) | 351FGC200DD(L/N)K
Part Replacement
Fan Motor
Turn unit off, disconnect gas and electrical
1.
connections.
Remove right side panel to disconnect motor
2.
wires from inside plug (Fig. 29).
Remove wiring from rear of unit (Fig. 30 & 31).
3.
Open front doors. Remove racking and top rear
4.
rack brackets from inside of oven.
Remove inside rear cover with a 10mm socket
5.
or wrench, 2 bolts (Fig. 32 & 33).
Remove mounting bolts for fan motor with a
6.
10mm socket or wrench (Fig. 34).
Pull fan assembly into inside of oven (Fig. 35).
7.
Reassembly is reverse of removal.
8.
Gas Burner Components
Turn unit off. Disconnect gas and electrical
1.
connections.
Remove front lower cover panel with a Phillips
2.
screw driver.
Loosen and remove compression nut from gas
3.
supply line to burner manifold (Fig. 36).
Remove 4 hex head bolts with an 8mm socket
4.
from the burner manifold (Fig. 37).
Replace orifices as needed or for gas
5.
conversion, use a 14mm wrench.
Remove 4 hex bolts with an 8mm socket from
6.
burner assembly to access the burners, surface
igniter and flame sensor (Fig. 38 & 39).
Remove surface igniter and/or flame sensor
7.
with a Phillips screw driver as required for
replacement (Fig. 40).
Disconnect wiring from ignition module if
8.
replacing surface igniter or flame sensor.
www.cookingperformancegroup.com
Fig. 29
Fig. 30
Fig. 32
Fig. 34
Fig. 36
Fig. 37
Fig. 38
Fig. 39
Fig. 31
Fig. 33
Fig. 35
Fig. 40
11
