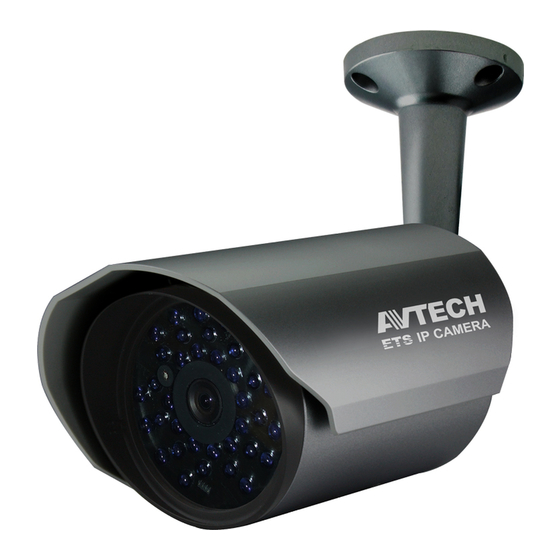
Avtech AVM457A Instrukcja instalacji - Strona 4
Przeglądaj online lub pobierz pdf Instrukcja instalacji dla Kamera bezpieczeństwa Avtech AVM457A. Avtech AVM457A 4 stron.

WATERPROOF ACCESSORIES
Note: This waterproof kit is optional.
waterproof kit
for coaxial cable
SYSTEM CONNECTION
FEATURES OF THIS SYSTEM
POC (Power-over-Coaxial) solution:
- Quick replacement from existing CCTV systems to
HD IP systems, upgrading DVR to NVR, analog
cameras to megapixel IP cameras, with existing
cabling
- No need to connect IP camera's power additionally
for camera power is supplied by coaxial cables
No need to configure the IP address of the connected
camera since the NVR will configure automatically
once the camera is connected and detected.
When there's a power outage or malicious power cut:
- Continuous power supply for a few minutes
- Push Video received for power outage (Push Video
NVR required)
(FOR COAXIAL CABLE)
rubber
bend
coaxial
cable
CABLE OVERVIEW
Cable
Description
Power cable
DC12V power supply.
Connect it to a PoC converter for video
Coaxial cable*
transmission.
A wire or a wire connected to a terminal
GND
block depending on the model you
Alarm-in**
have, reserved for external alarm
device connection.
Alarm-out**
A wire reserved for hardware reset.
Remove the insulating coating of the
RESET
wire, and twist it with the GND wire
together to reset the camera to ifs
factory values.
Colored as blue, used to connect to a
Line-in**
microphone for audio input.
Colored as green, used to connect to a
Line-out**
speaker for audio output.
* For selected models only
DEFAULT VALUES
IP address
192.168.1.10
Port number
88
User name
admin
Password
admin
It's strongly recommended to change the default
user name and password before using the
camera to keep your account safe.
To change the default account, log into the
camera, and go to Config. General
Account. Create a new account, and remove
the default one.
357_359_552_553_561_quick_V0.9
