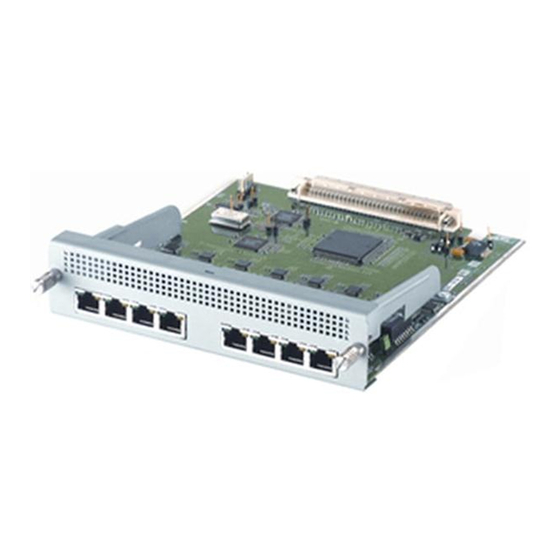
Allied Telesis AT-AR040 Podręcznik instalacji i bezpieczeństwa - Strona 8
Przeglądaj online lub pobierz pdf Podręcznik instalacji i bezpieczeństwa dla Sprzęt sieciowy Allied Telesis AT-AR040. Allied Telesis AT-AR040 13 stron. Network service module
Również dla Allied Telesis AT-AR040: Podręcznik instalacji i bezpieczeństwa (12 strony)

Installation and Safety Guide
Installing a Network Service Module
Warning Failure to follow this procedure when hot swapping an NSM will cause the
switch or router to halt, and may damage it and any files stored in flash memory.
1.
Read the safety information.
See the Installation and Safety Guide or Safety and Statutory Information
Booklet for your switch or router. You can download this document
www.alliedtelesis.com/support/software/.
2.
If you are not hot swapping, remove power to the switch or router.
Warning Be sure to disconnect the main power supply and the redundant
power supply before installing the NSM. Installing an NSM with the switch or
router powered on can damage the NSM or base unit.
3.
If you are hot swapping, prepare the NSM bay.
Warning Do not attempt to hot swap while the contents of flash are being
modified; for instance, during flash compaction or when files are being loaded
onto the switch or router. If the switch or router halts while flash is being
modified, configuration files, software release files, feature licenses and other
files may be damaged.
If the In Use LED (next to the NSM bay) is lit, use a pencil tip or similar object
to press the recessed Hot Swap button. The In Use LED should go out and the
Swap LED should light.
If the In Use LED remains lit or if neither the In Use nor Swap LED are lit, the
software release does not support hot swapping, and you must install the NSM
with the switch or router powered off.
4.
Remove the faceplate or existing NSM.
If the switch or router does not have an NSM installed, remove the blank
faceplate by loosening the two captive screws, as shown in the following figure.
captive screw
NSM bay
with blanking faceplate
captive screw
NSM 0
Swap
Hot Swap
In Use
Base unit LEDs
for the NSM
613-000610 Rev B
7
