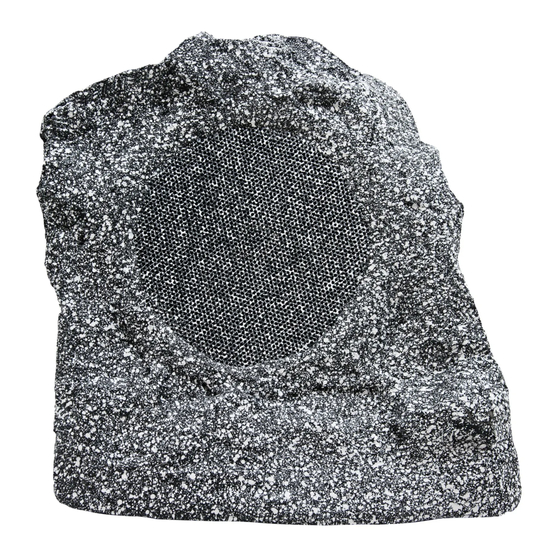
EarthQuake Limestone-82 Podręcznik użytkownika - Strona 8
Przeglądaj online lub pobierz pdf Podręcznik użytkownika dla Głośniki EarthQuake Limestone-82. EarthQuake Limestone-82 12 stron. Limestone & granite rock-on series

Unpacking & Wiring
Unpacking system components
• Keep the original carton and packing materials for future
shipment or storage.
• Check for any visual signs of damage. If you encounter any
concealed damage, consult your Earthquake Sound dealer
before proceeding with unit installation.
• Retain the sales receipt as it established the duration of the
limited warranty and provided information for insurance
purposes.
System installation considerations
There are several factors to consider before installing Earthquake
Sound's
ROCK-on series
• What are the intended listening zones?
• What system options and accessories might be required for
features such as local sources, etc.?
• From where in each zone will the listener prefer to control the
system? Where will the remote gains be located? Where will the
speakers be located?
• Where will the source equipment be located?
Connection tips
• Keep all power cords away from all signal cables to prevent
humming from induced noise.
• Choose reliable signal cables cords (Earthquake Sound also
specializes in high-performance RCA cables and patches).
• All speaker wires that are ran through the walls should be twisted
type to reduce potential hum noise pick up.
• It is best to use a grounded electrical outlet to power the
amplifier. Lack of input ground reference could be unsafe.
Consult with your electrical contractor about proper grounding.
Wiring Your System
1. Use direct burial wire and measure out how much you will need.
2. Dig a 6-inch deep trench to each speaker.
3. Connect the speaker wire to the speaker. It is recommended that you use heat-shrink tubing to seal each individual
conductor, then heat-shrink the two connections together.
Make sure that all connections are secure. A poor connection can lead to corrosion and a damaged
speaker.
4. Run the wire through the trench to the amplifier.
5. Connect the speaker wire to the terminals on the back of your amplifier.
Make sure that the speaker wires' polarity is connected correctly.
+ (positive, red) to speaker red wire (positive)
– (negative, black) to speaker black wire (negative)
6. Turn your amplifier on and test the system with your favorite music. If the speakers are operating properly, refill the
trench.
-8-
.
Earthquake Sound Corp. | (800) 576-7944 | www.earthquakesound.com
