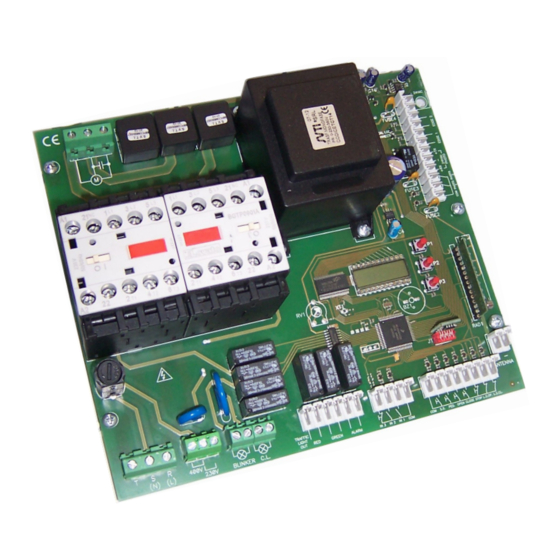
Allmatic CT3IND Instrukcja instalacji - Strona 6
Przeglądaj online lub pobierz pdf Instrukcja instalacji dla Jednostka sterująca Allmatic CT3IND. Allmatic CT3IND 10 stron. Programmable control board for sliding gates

Under the normal functioning conditions, the display is in the main page where the state of the inputs is displayed.
The N.C. inputs are represented by vertical segments. The N.O. segments are reprsented by horizontal segments.
N.B. The lit segments indicate that the input is activated.
4.1 Transmitters learning ()
The control unit is compatible with all the transmitters of B.RO series.
To enter the learning menu of the transmitters:
1) press the key P1
2) on the display the writing appears.
- at this stage execute the following procedure:
Press the key of the transmitter
to learn. The display shows the
writing
Learning turned out well.
The sequence of buttons learning sets out the functioning and in particular:
1) firs key learnt step –by –step function
2) second key learnt pedestrian function.
3) third key learnt lighting of the courtesy light. This key enables the lighting of the courtesy light that will turn off with a time set in the menu
(see chap. 4.4).
Differentely from the first learnt key, when the second key and third keys are learnt the display shows the writing
well and the key is learnt.
There is the possibility to learn the transmitters also in this way:press the key P2 to enter the menu, roll it until reaching the entry
key P2, on the display the writing appears. At this stage continue wiht the procedure mentioned above.
4.2 Menu "start settings":
To enter this menu press the key P2 from the main page.
MENU'
Enables to enter the menu of the basic settings (see paragraph 4.3)
Enables to enter the menu of the adjustment of the special functions
(see paragraph 4.4).
Enables the cancellation of the learnt transmitters, of the settings or both.
The cancellation of the settings brings back the control unit to the factory values.
Enter the function , the display shows ,at this stage:
- press and keep pressed for 5" the key P1 to delete the transmitters.
-press and keep pressed for 5" the key P3 to delete the settings and bring back to
the factory settings
- press and keep pressed for 5" the keys P1 and P3 to delete all the transmitters
and the settings .
If the cancellation has turned out well the display shows .
If the cancellation does not turn out well the display shows .
Enables the learning of the transmitters.
For the learning see paragraph 4.1
Enable the manual movement of the automation.
Keeping pressed the key P1 the automation starts opening.
Keeping pressed the key P3 the automation starts closing.
Exit from the menu.
6-1622598
REV.3
23/09/2020
L.S.OP.
L.S.CL.
S.S.
PED.
PHOTO1
PHOTO2
Ye
DESCRIPTION
ITA
ENG
EDGE 2
EDGE 1
OPEN
CLOSE
STOP
•
If the display shows the writing
NO
the transmitter is already learnt.
•
If the display shows nothing, check that
the transmitter functions and, that the
antenna of the control unit is correctly
cabled.
FRA
ESP
DEU
POR
. The procedure is turned out
, press the
SELECTABLE
VALUES
DEFAULT
min-max
—
—
—
—
—
—
—
—
—
—
—
—
MEMO
6 / 10
