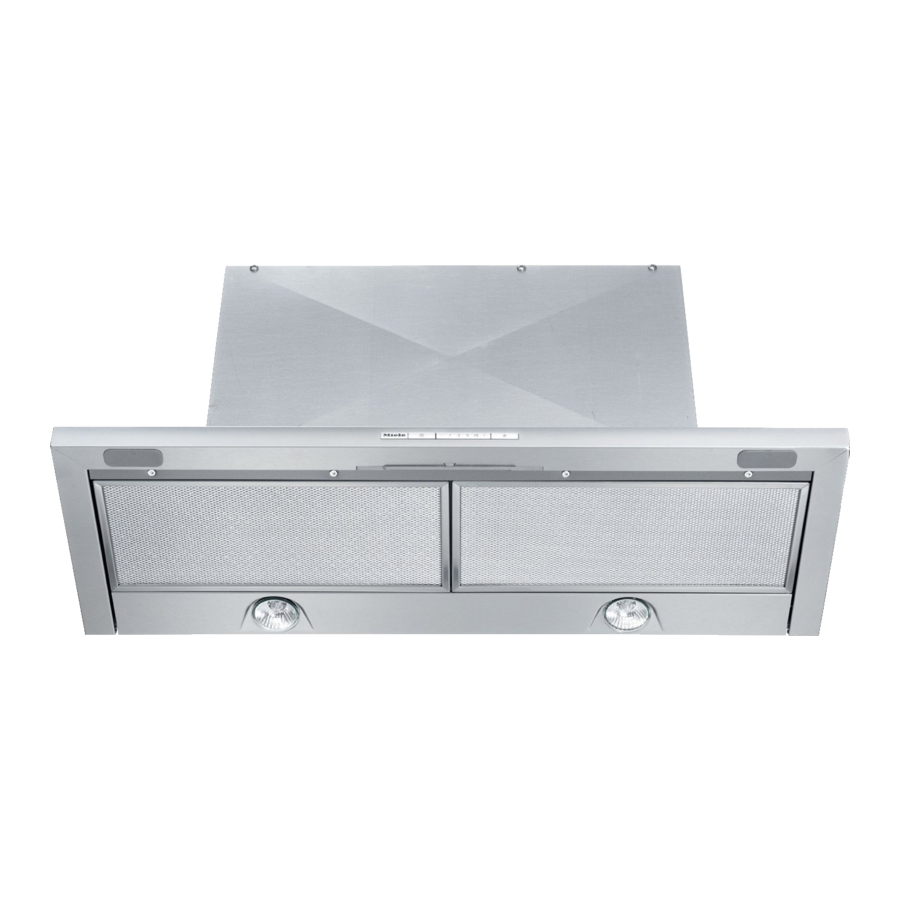
Miele DA 3490 Instrukcja obsługi i instalacji - Strona 9
Przeglądaj online lub pobierz pdf Instrukcja obsługi i instalacji dla Okap wentylacyjny Miele DA 3490. Miele DA 3490 40 stron. Ventilation system
Również dla Miele DA 3490: Instrukcja obsługi i instalacji (40 strony), Instrukcja obsługi i instalacji (40 strony), Instrukcja instalacji (24 strony)

Correct installation
~
Refer to the cooktop manufacturer's
instructions as to whether a rangehood
may be operated above the cooktop.
~
The minimum safety distances
between the top of the cooktop and the
bottom of the rangehood given in the
"Appliance dimensions" section of this
booklet must be maintained, unless the
cooktop manufacturer states that a
greater safety distance is required.
If more than one cooking appliance is
fitted beneath the rangehood, and they
have different minimum safety
distances to the rangehood, select the
greater distance.
~
Follow the cooktop manufacturer's
instructions on the use of flammable
materials over the cooktop when
installing a wood or laminate lightshield
onto the rangehood.
~
Safety regulations prohibit the fitting
of a rangehood over solid fuel stoves.
~
All ducting, pipework and fittings
must be of non-flammable material.
These can be obtained from Miele or
from builders' merchants.
~
The appliance must not be
connected to a chimney or vent flue
which is in use. Neither should it be
connected to ducting which ventilates
rooms with fireplaces.
~
If exhaust air is to be extracted into
a chimney or ventilation duct no longer
used for other purposes, seek
professional advice.
~
Ensure exhaust ventilation complies
with all relevant regulations.
Warning and Safety instructions
Accessories
~
Only use genuine Miele spare parts
and accessories with this appliance. If
spare parts or accessories from other
manufacturers are used, this will
invalidate the warranty, and Miele
cannot accept liability.
The manufacturer cannot be held
liable for damage caused by
non-compliance with these Warning
and Safety instructions.
9
