ALLNIC AUDIO L-7000 Instrukcja obsługi - Strona 8
Przeglądaj online lub pobierz pdf Instrukcja obsługi dla Wzmacniacz ALLNIC AUDIO L-7000. ALLNIC AUDIO L-7000 10 stron. Line-stage preamplifier
Również dla ALLNIC AUDIO L-7000: Instrukcja obsługi (15 strony)

want to use, single ended (RCA) or
balanced (XLR), ontheswitch at
top centre onthebackofthepreamplifier
•
turned the volume down on or muted
the L-7000 checked that all your
connections are snug
Be sure you have manually turned the volume
control on the front panel to the extreme
counter-clockwise position (minimum
volume).
When the Allnic L-7000 has powered up
internally and you have depressed the far left
hand button marked "power" on the front
panel, the following will happen on the front
panel : The light above the "power" button
will illuminate.
•
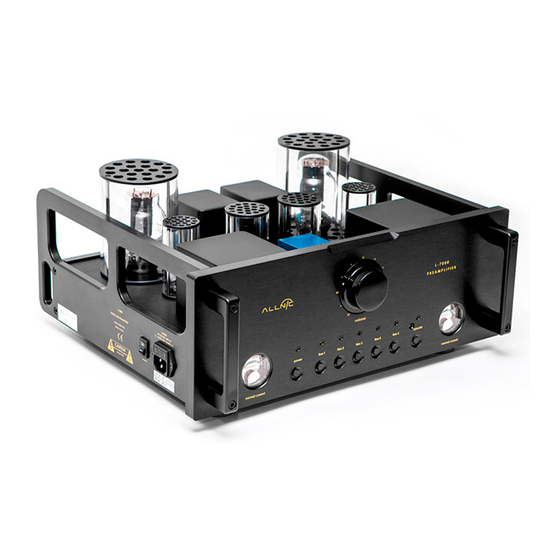
The meters on the front panel will
illuminate.
•
Any of the five numbered line source
lights that are depressed will illuminate.
•
After about forty (40) seconds, the light
above the "operate"/"mute" button will
illuminate. The L-7000 has a "soft start"
delay for the tubes in order to extend
tube life.
The Allnic Audio L-7000 is now ready for
operation. At this point, you can power on
your stereo power amplifier or mono-blocks.
OPERATION
From this point on, operation is
straight-forward. All functions are controlled
from the front panel or the remote control. Of
course, BE CAREFUL about differences in gain
between your sources. Generally, disc players
and tuners will have greater gain than phono
stages. That means the volume setting for
listening to your turntable might be too high
for listening to CD's.
To avoid surges to the speakers, it is best to
change from input to input only with the
"operate" button set to mute (the light above
the button will not be illuminated when the
button is in the "mute" position).
When you are finished listening, turn off your
stereo power amplifier or mono-block
amplifiers. Then turn off the L-3000, using the
remote control or depressing the power
switch on the front panel. The power switch
on the rear panel should stay in the "on"
position – this will keep key circuitry warm,
and your L-7000 will be ready to play when the
soft-start turns on the L-7000 next time THE
CURRENT METERS
These illuminated meters indicate the current
supply to the gain tubes in the L-7000. They
are indicators of failure or damage to the
function of the unit. There is one meter for
each channel. The needle should be between
the two parallel lines just left of centre on the
meter face. Any failure of the tubes or circuits
in one or the other of the L-7000's channels is
indicated by the needle on the meter for the
respective channel moving out from between
these two parallel lines.
•
If the needle has moved to the left of
the parallel lines on a meter, it means
that one or both the E810F tubes for
that channel is failing.
•
If the needle on either meter moves to
the right of the parallel lines, it means
that one or the other of the voltage
regulator tubes (300B) for that channel
is failing.
In the case of any failure indicated by
the meter, please contact Allnic Audio
USA for assistance.
TUBES
The L-3000 uses the following tubes :
•
Two (2) x E810F
•
Two (2) x 300B
