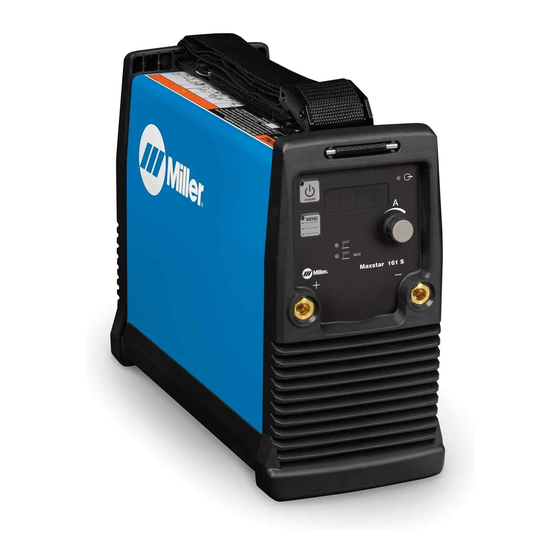
Miller Maxstar 161 S Instrukcja obsługi - Strona 33
Przeglądaj online lub pobierz pdf Instrukcja obsługi dla Akcesoria spawalnicze Miller Maxstar 161 S. Miller Maxstar 161 S 44 stron. Arc welding power source with auto-line

8-3. Troubleshooting
Trouble
No weld output; unit completely
inoperative.
No weld output; unit on.
Unit provides only maximum or
minimum weld output.
Erratic or improper weld output.
No control of weld output.
Lack of high frequency; difficulty in
starting GTAW arc.
Wandering arc − poor control of
direction of arc.
Tungsten electrode oxidizing and not
remaining bright after conclusion of
weld.
Fan not operating.
No weld output; fan does not run.
No weld output; fan on.
Fan not operating; weld output
available.
Error message [See O.M. ERROR
3.4.1] is displayed.
Error message [See O.M. ERROR
3.3.1] is displayed.
Error message [See O.M. ERROR
7.2.3] is displayed.
Error message [See O.M. ERROR
1.4.0] is displayed.
.
A complete Parts List is available at www.MillerWelds.com
Place line disconnect switch in On position (see Sections 5-4 or 5-5).
Check and replace line fuse(s), if necessary (see Sections 5-4 or 5-5).
Check for proper input power connections (see Sections 5-4 or 5-5).
Check, repair, or replace remote control.
Have Factory Authorized Service Agent check unit.
Make sure Material Amperage control is in proper position (see Section 6-1).
Have Factory Authorized Service Agent check unit.
Lay weld cables out straight, do not leave weld cables coiled.
Check position of Process Selector switch (see Section Figure 6-1).
Check position of Amperage control (see Section 6-1).
Make sure Material Amperage control is in proper position (see Section 6-1).
Be sure torch cable is not close to any grounded metal.
Check cables and torch for cracked insulation or bad connections. Repair or replace.
Reduce gas flow rate (see Section 6-1).
Properly prepare tungsten (see Section 11-2).
Shield weld zone from drafts.
Check and tighten all gas fittings.
Properly prepare tungsten (see Section 11-2).
Unit equipped with Fan-On-Demandt. Fans run only when necessary. Unit equipped with circuitry to
protect against overheating.
Place line disconnect switch in On position (see Sections 5-4 or 5-5).
Check and replace line fuse(s), if necessary, or reset circuit breaker (see Sections 5-4 or 5-5).
Check for proper input power connections (see Sections 5-4 or 5-5).
Check connection to remote control receptacle (see Section 4-7).
Check remote control (see remote control Owner's Manual).
Unit overheated. Allow unit to cool (see Section 4-5).
Check for and remove anything blocking fan movement.
Have Factory Authorized Service Agent check fan motor.
Contact a Factory Authorized Service Agent.
Contact a Factory Authorized Service Agent.
Contact a Factory Authorized Service Agent.
Contact a Factory Authorized Service Agent.
Remedy
OM-275099 Page 29
