Miller Solo Rapid Lock 100 Instrukcja obsługi - Strona 6
Przeglądaj online lub pobierz pdf Instrukcja obsługi dla Akcesoria do kamer Miller Solo Rapid Lock 100. Miller Solo Rapid Lock 100 8 stron. Rapid lock tripod series, 2-stage tripod (alloy) & 3-stage tripod
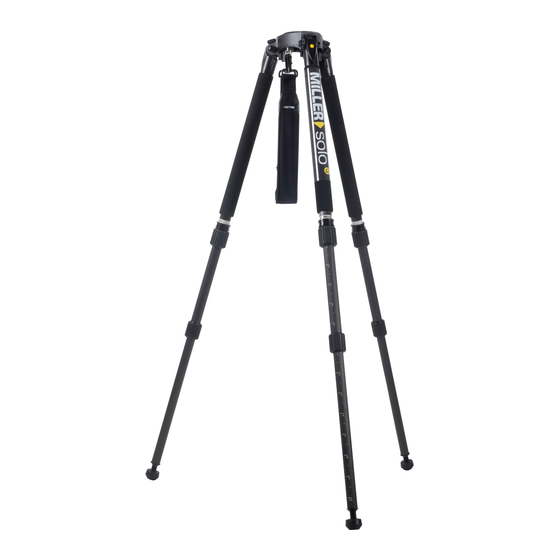
Shoulder Strap
SOLO's Shoulder Carry Strap can be used looped (both
ends attached to the mounting point on the bowl), to carry
the tripod on one shoulder,
OR
it can be used attached to the bowl and the Leg Strap "D"
ring, to carry the tripod across your back with fluid head
towards the ground.
6
Leg Pivot Adjustment
The leg to bowl pivot joint on the SOLO RAPID LOCK tripod should have
no lateral movement and should swing with a firm, smooth resistance.
As this is a spreader-less tripod, the leg pivot joint requires sufficient
resistance to hold the tripod legs together while being hand carried.
Adjustment is usually not required, however, should it become
necessary, the following procedure must be observed.
1 Lay tripod on a flat surface with legs closed in
transport position.
2 Using 17mm spanner (supplied), gently
tighten nut to achieve firm, smooth movement of
the leg while still having sufficient tension to hold
the legs together when tripod is being hand
carried.
3 Check leg resistance by swinging leg fully open
(using leg angle adjuster) and ensure that all legs
open with a similar degree of effort. Tighten or
loosen bolts as necessary.
Important: Remember not to over-
tighten as this may cause too much
resistance when swinging the legs open.