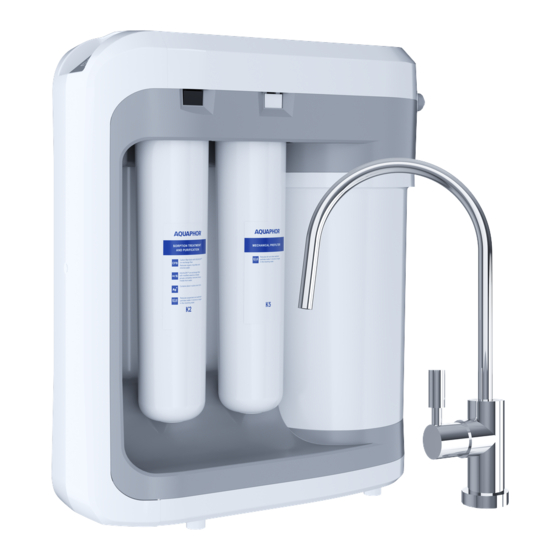
AQUAPHOR DWM-203 Podręcznik wydajności - Strona 9
Przeglądaj online lub pobierz pdf Podręcznik wydajności dla Systemy filtracji wody AQUAPHOR DWM-203. AQUAPHOR DWM-203 16 stron.

Step 3. Washing of the preliminary water
treatment unit
• Open the tap for clean water.
• Move the input tap of junction point to the position "Open". The LED
indicators of the modules resource will start flashing (the light signal is
duplicated by the sound signal).
• To start the washing mode, press briefly the PUSH button 3 times, located
on the front panel of the DWM-203 (fig. 13). At the same time, five tonal
signals will sound, the light indication of the module life will turn off and the
washing mode of the pre-treatment unit for 30 minutes will start. At first,
air will escape from the system that may be accompanied by noise.
• Ensure that the DWM-203 connections are hermetically
sealed.
If leakage is detected, immediately move the input tap of the junction point to the
position "Closed" and check the connections. After sealing, to continue the rinsing procedure, move
again the input tap of the junction point to the position «Opened».
• When the washing is complete, the DWM-203 will emit 5 tonal signals and automatically go into operating mode.
• Turn the input tap of the junction point to the position "Closed" and wait for the light and sound indication of the module
resource to turn off.
Step 4. Rinsing of reverse osmosis membrane unit
• Remove the utility plugs from the seats of the reverse osmosis membrane
unit and install the membrane modules in their place, as shown in fig. 14.
• Switch in the input tap of the junction point to the position «Opened». LED
indicators of module resources will start blink (the light signal is duplicated
by the sound signal).
• Ensure that the DWM-203 connections are hermetically sealed.
If leakage is detected, immediately move the input tap of the
junction point to the position "Closed" and check the
connections. To continue the rinsing procedure after
eliminating the leakage, move the input valve to the position
"Opened" on the junction point again.
• Wait for the water to flow from the tap for clean water.
• Leak the water through the DWM-203 for 1 hour. *
• Close the tap for clean water.
• Fill and drain the storage container 2 more times.
• Press and hold the PUSH button for at least 7 seconds. LED
Indication of module resources will go from flashing to permanent mode,
and the audio signal will stop.
• Ensure that the DWM-203 connections are hermetically sealed.
• After filling the container, the DWM-203 is ready for use.
ATTENTION! The water obtained during washing is not intended for drinking.
During the first week of operation, periodically check DWM-203 for leaks. In the first week of operation of DWM-203, when
the valve is switched, noise can be observed associated with the release of air from the internal cavities of the DWM-203.
This is not a malfunction.
Fig. 13
Membrane
module
Fig. 14
9
