AQUAPHOR RO-312S PRO Instrukcja obsługi - Strona 8
Przeglądaj online lub pobierz pdf Instrukcja obsługi dla Systemy filtracji wody AQUAPHOR RO-312S PRO. AQUAPHOR RO-312S PRO 17 stron. Reverse osmosis system

Connecting tubes
Connect the pipes supplied with the water purifier
in accordance with the "Water purifier installa-
tion diagram". Red tube – from the connection
node to the input fitting of the collector block.
Black tube – from the collector block to the drain
clamp. White tube – from the tip for clean water
to the output block of the collectors.
How to connect the tubes
Remove the locking clip from under the plastic
sleeve, insert the end of the tube pre-wetted
with water into the fitting sleeve until it stops at
a depth of about 15 mm, and reinstall the clip.
How to disconnect the tubes
Remove the locking clip from under the plastic
sleeve and, pressing the end of the plastic sleeve
with a wrench (supplied with the water purifier),
pull out the tube.
ATTENTION! Check the tightness of the tube
fastening – with a force of 80–100 N the tube
should not be pulled out.
8
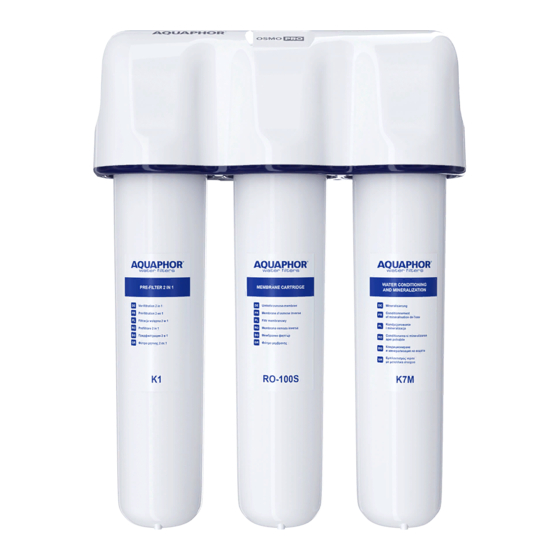
Cartridge Installation
To install a filter cartridge:
• remove the protective film from the cartridge;
• make sure that the inner surfaces of the con-
necting flange of the cartridge are clean (there
is no carbon dust, etc.); if necessary, flange the
flange under running water;
• Insert the cartridge into the collector until it
stops and, while slightly pressing, turn clock-
wise until it clicks.
NOTE There is no need to install a membrane
cartridge at this point. To flush the RO-312S Pro,
screw the flushing plug into the middle slot of
the manifold block.
ATTENTION! Unscrewing the cartridge to its final
position may cause leaks on the RO-312S Pro
connections! The cartridge must be screwed in
until it clicks.
10 min
1 hour
