Burley Alternative Hitch Long QR Podręcznik - Strona 4
Przeglądaj online lub pobierz pdf Podręcznik dla Akcesoria rowerowe Burley Alternative Hitch Long QR. Burley Alternative Hitch Long QR 6 stron.

NOTE: The quick-release skewer must insert a minimum of 11mm into the
adjusting nut to function properly. The Alternative Hitch replaces the quick-
release mechanism on the rear wheel. The consumer MUST be thoroughly
informed on how to safely operate this and traditional quick-release
mechanisms. Proper adjustment of the quick release must be checked
before every ride.
Failure to properly secure the quick-release mechanism of the Alternative Hitch
may lead to an accident resulting in serious injury or death.
1) Remove the entire quick-release assembly from the rear wheel of the
bicycle. Set aside.
2) Install the wheel between the dropouts. Make sure that the left dropout
is snug against the axle lock nut. Measure the distance that the wheel
axle is recessed in the left dropout. If the axle is recessed less than
1.5mm from the exterior face of the dropout, the Alternative Hitch
body cannot engage the dropout properly. You must then remove the
wheel and file or grind the hollow axle end. Repeat the measurement
and file or grind as necessary to ensure that the axle end is recessed
1.5mm from the exterior face of the dropout.
Never install the Alternative Hitch on a bicycle with an axle end less than
1.5mm from the face of the left side dropout. An axle less than 1.5mm from
the dropout face will prevent the Alternative Hitch from engaging the
dropout properly and lock the wheel in the frame, possibly resulting in an
accident and serious injury.
3) Loosen and remove the nut and the single quick-release spring from
the Alternative Hitch quick-release assembly.
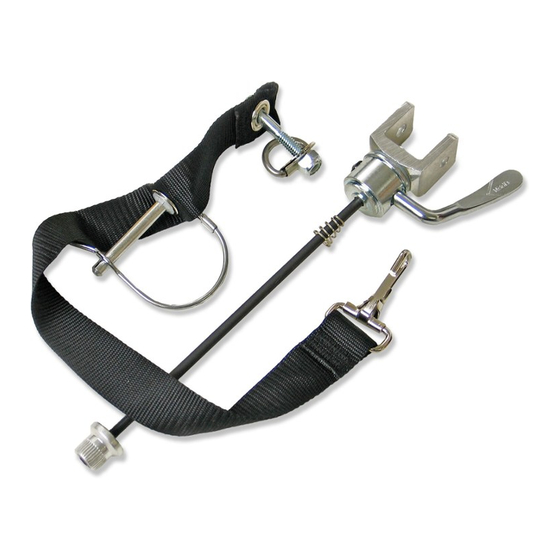
4) Insert the skewer of the Alternative Hitch into the hollow axle from the
non-drive side of the wheel as you would a traditional quick-release
skewer. (Caution: DO NOT install a quick-release spring on the hitch
side of the quick-release assembly.)
5) Install the single quick-release spring on the "nut" (drive) side of the
quick-release assembly. Thread the adjusting nut onto the skewer.
6) The quick-release lever is marked for "open" (concave) and "closed"
(convex) positions (Figure 3).
4
Never install an Alternative Hitch with standard length safety strap on a
mono-stay bicycle. Mono-stay bicycles require an Alternative Hitch with
long safety strap that allows the safety strap to be secured around the
mono-stay and above the left side cantilever brake stud. Failure to properly
attach the appropriate safety strap on a mono-stay bicycle can lead to the
trailer separating from the bicycle, resulting in serious injury or death.
After completing the Safety Checklist printed on the trailer seat, you are
ready to ride.
IV. Maintaining the Alternative Hitch
For the Quick Release Alternative Hitch:
1) Check quick-release tension frequently. The composite "ears" are
connected to the metal hitch body with a retaining clip. The quick-
release lever is secured to the Alternative Hitch body with an "E-type"
retaining clip.
This retaining clip is attached to the end of the quick-release shaft opposite
the quick-release lever handle. Do not disassemble this retaining clip or
your Alternative Hitch mechanism or quick-release mechanism.
Inspect the retaining clips each time you tighten or release the Alternative
Hitch quick release. Do not use your bicycle with the Alternative Hitch if the
retaining clips are missing or not securely engaged. Failure to maintain the
quick-release mechanism may result in an accident resulting in serious
injury or death.
9
